
Full 25-point door and opener safety check with every visit - springs, cables, rollers, tracks, and your LiftMaster or Chamberlain opener included
You get a price before we start. It does not change when the truck arrives.
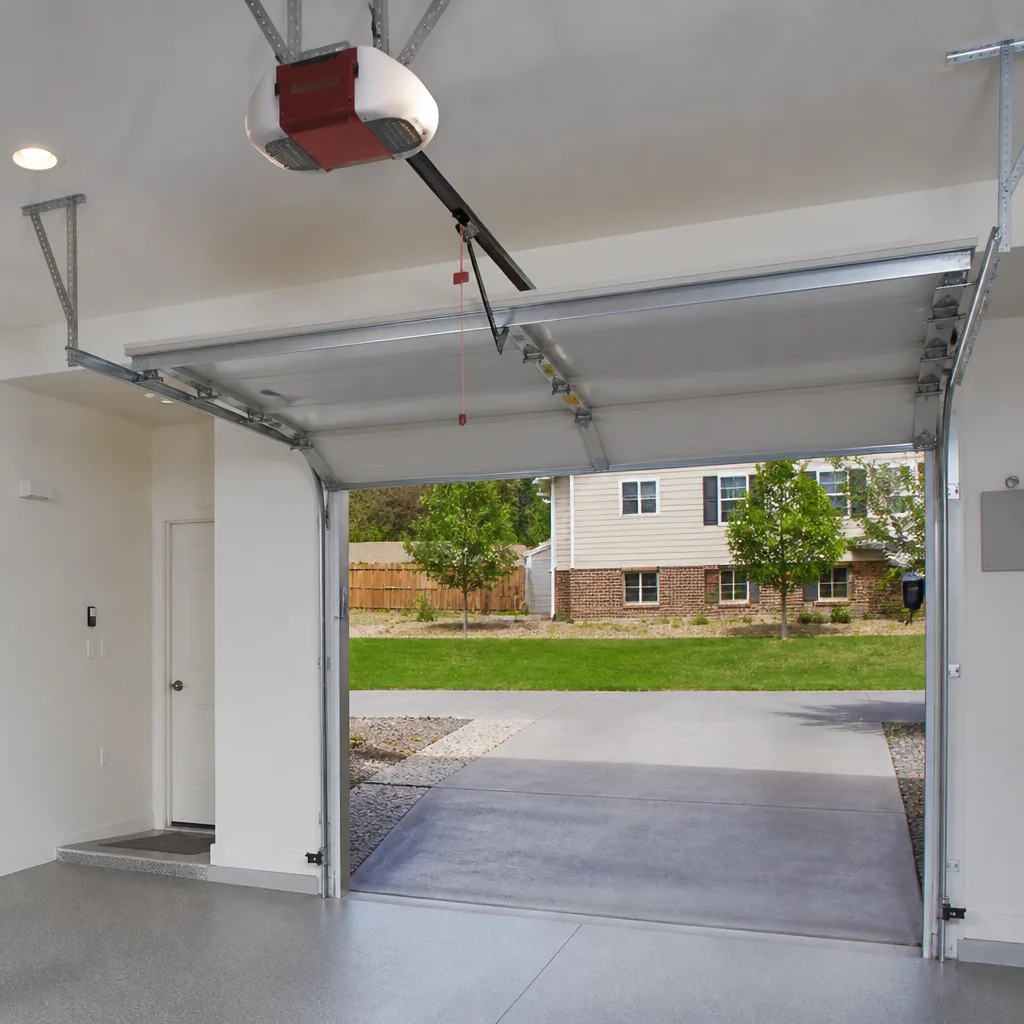
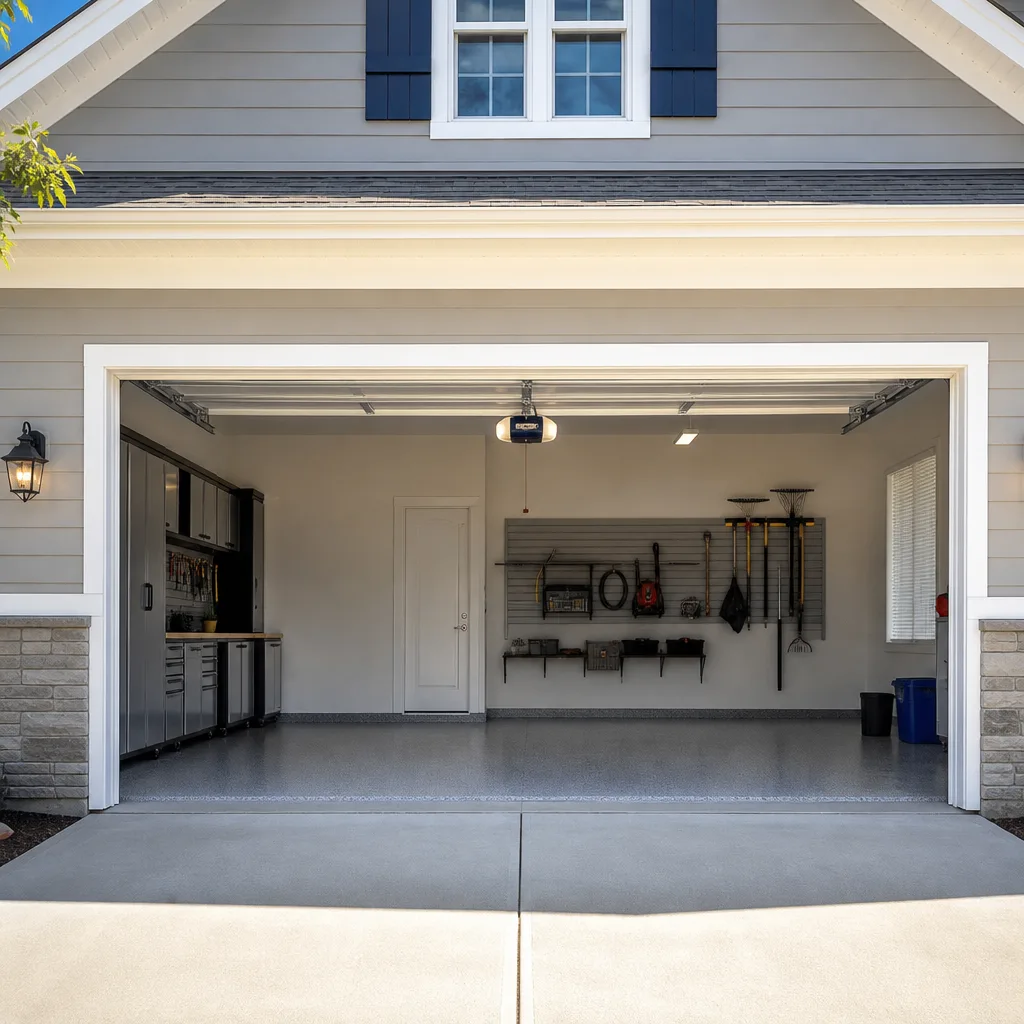
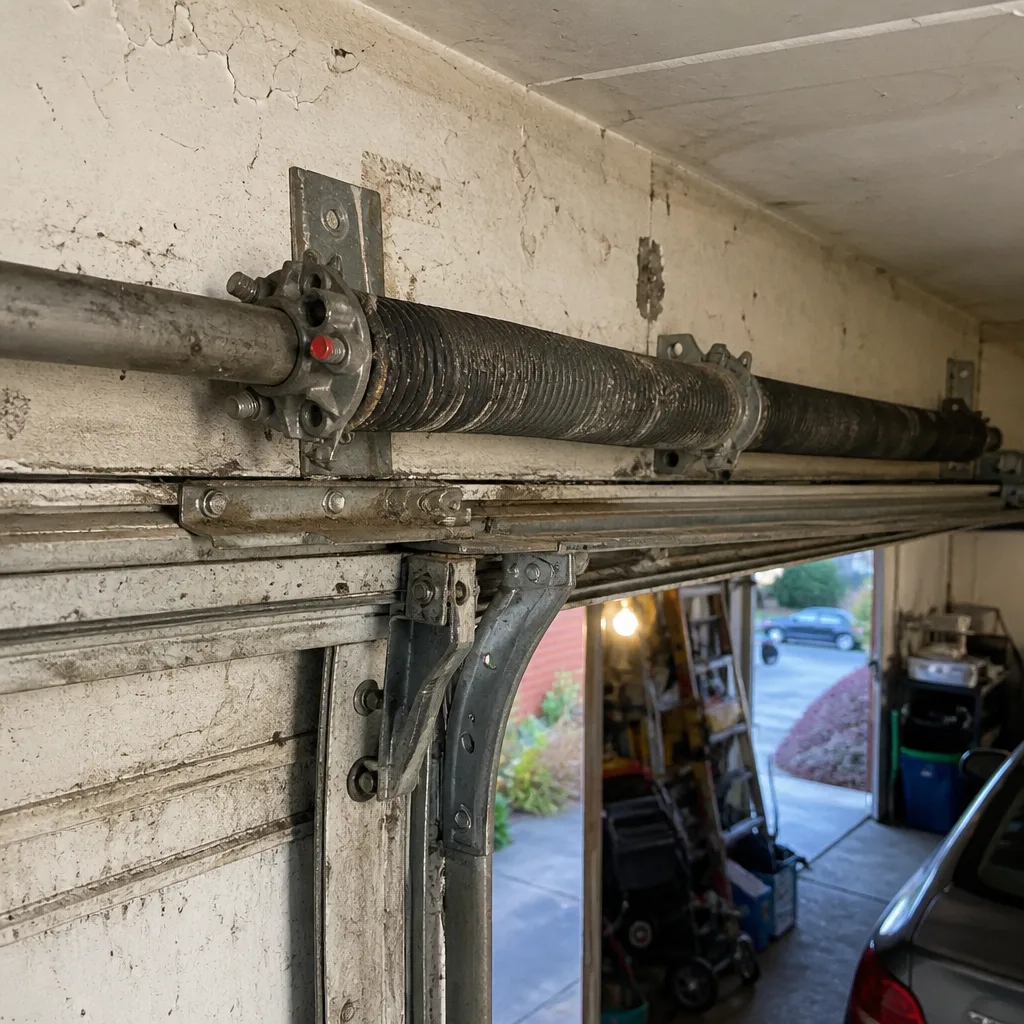 Before
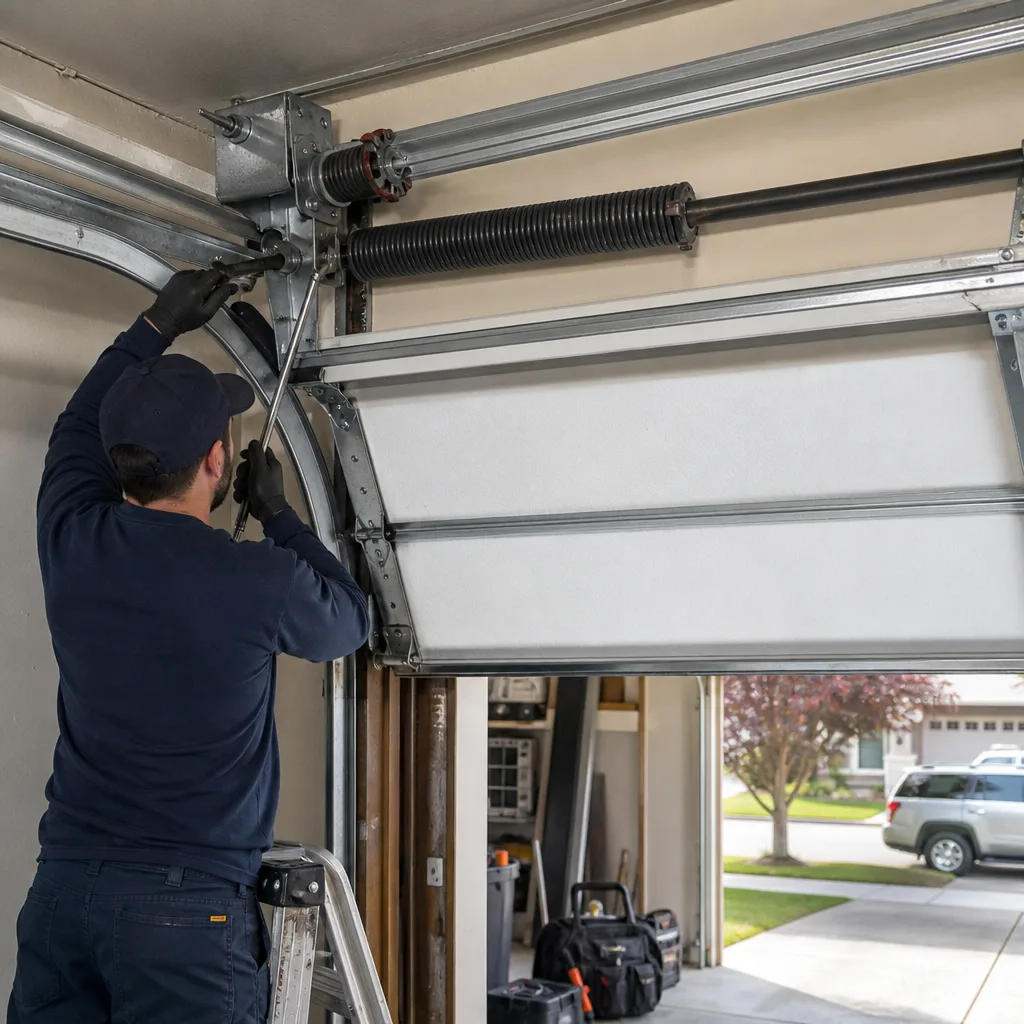 After
After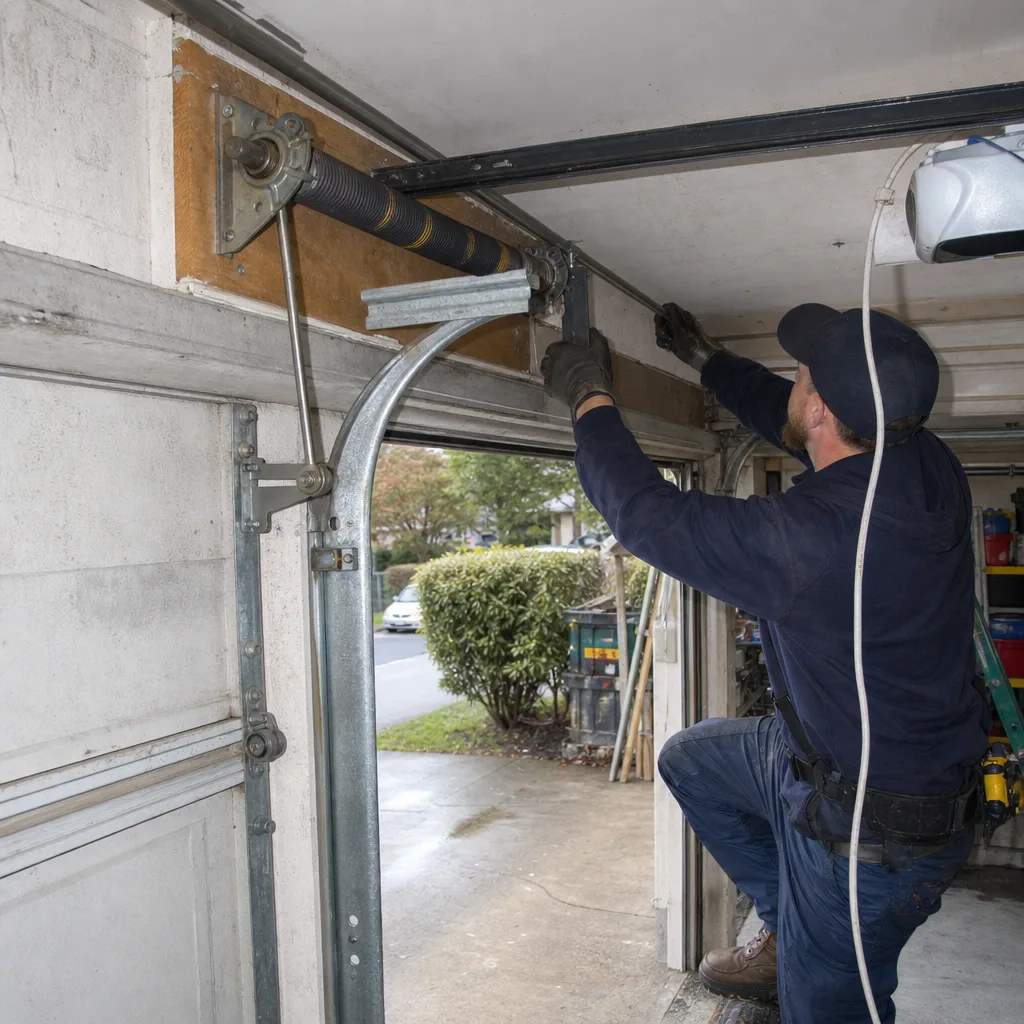 Before
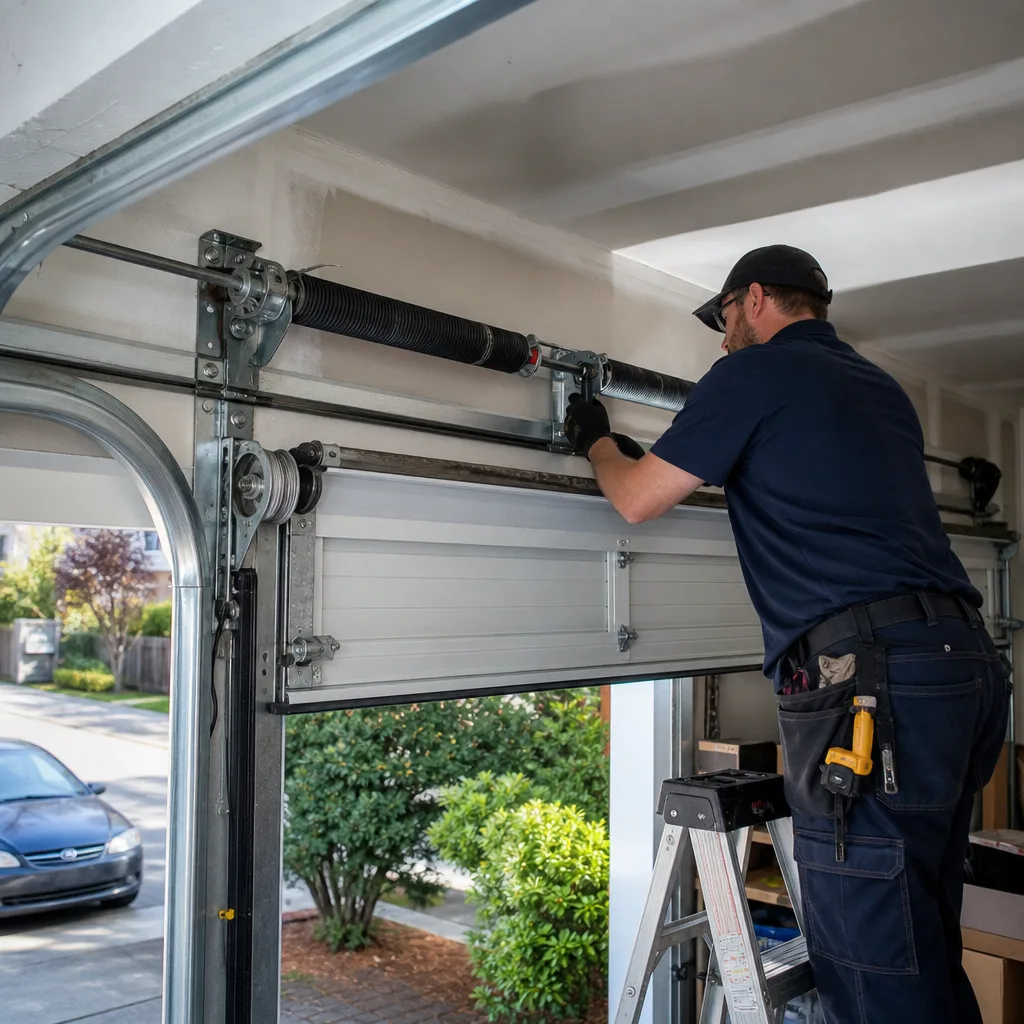 After
After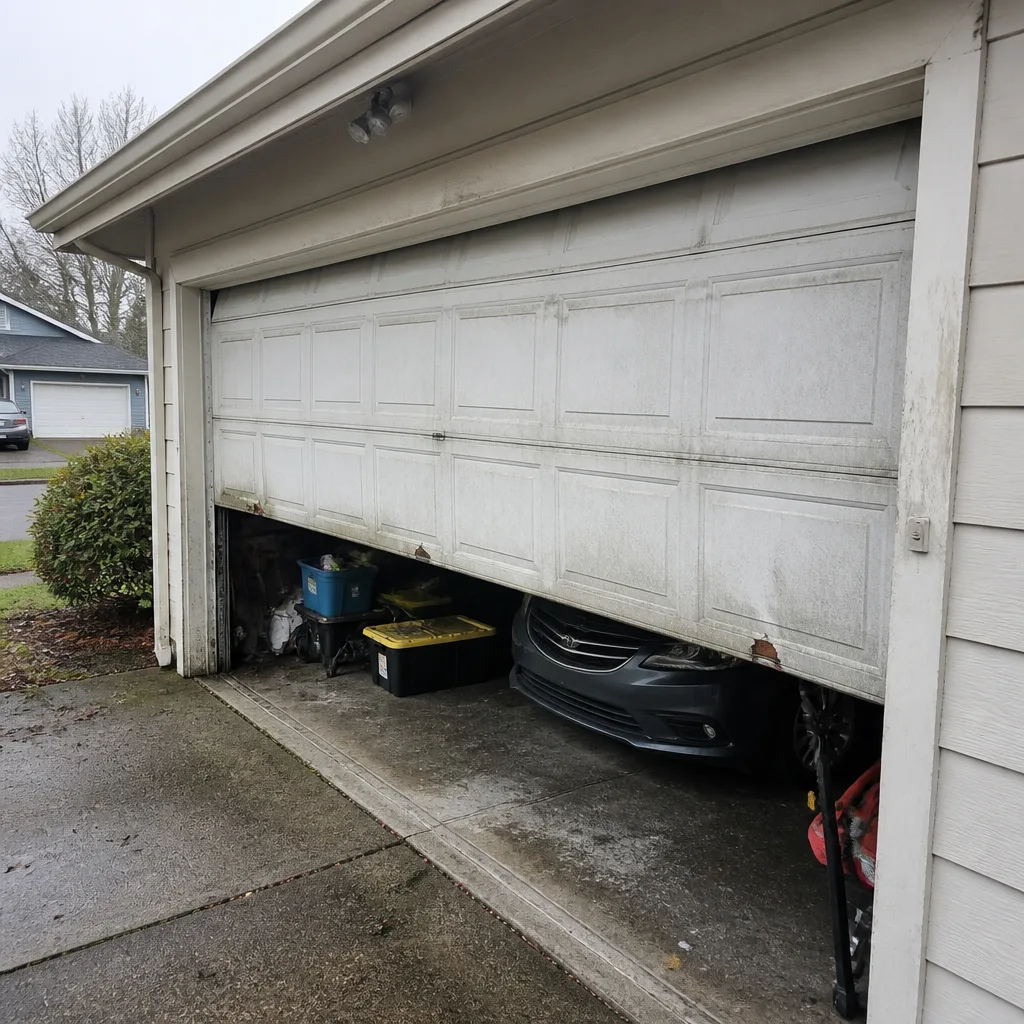 Before
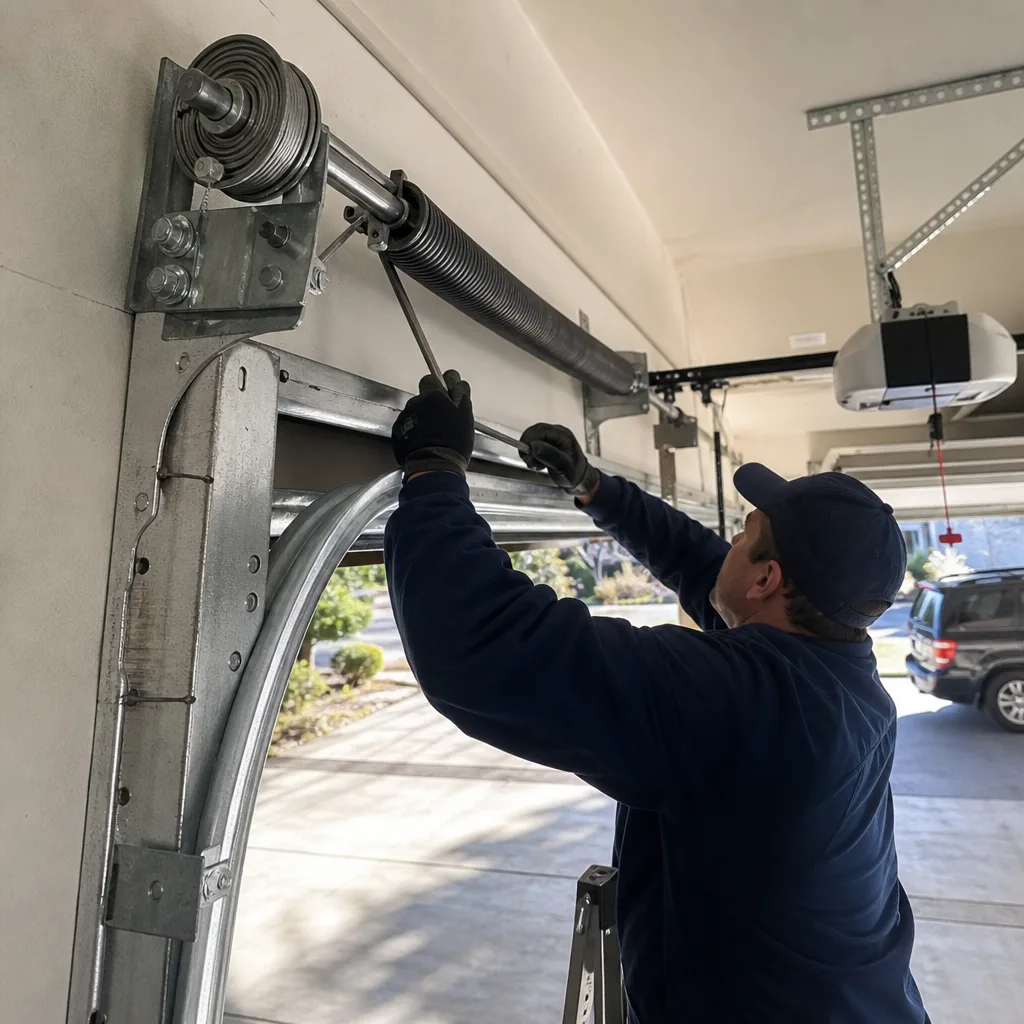 After
AfterLiftMaster Garage Door Opener Repair & Installation in Renton: What to Know First
We provide independent LiftMaster garage door opener repair and installation in Renton, with most repair calls completed same-day and every job quoted in writing before any work starts. LiftMaster opener repair in this market typically runs $120-$320, and installation ranges from $250-$550 depending on drive type and ceiling configuration. We’re not a LiftMaster dealer - we’re an independent service provider who stocks the parts that actually fail and documents what we find before we quote a replacement.
This page is for Renton homeowners who own a LiftMaster opener and need to know whether it’s worth fixing, what it should cost, and who will show up. If that’s you, call (253) 518-3767. A live person answers, including overnight and on holidays.
How LiftMaster Products Fail - and How We Fix Them
- Elite Series 8500W wall-mount failure. The DC motor gearbox strips its nylon worm gear after heavy cycle counts, especially in Renton’s wet seasons when garage humidity stays high and lubrication breaks down faster. We pull the unit, photograph the gear wear per Clause 4, and rebuild with OEM gear kits or replace the entire head unit if the armature is scored. Most 8500W jobs run $180-$320.
- Chamberlain B970 / LiftMaster 8355W belt-drive stretch. The fiberglass-reinforced belt elongates over 8-12 years and slips on the drive pulley, causing the door to stop short or reverse mid-travel. We measure belt tension against factory spec, replace with OEM belt kits, and recalibrate the travel limits. Belt replacement alone is $120-$220; if the trolley carriage is worn, we add that.
- MyQ logic board communication loss. The 041A7185-1 and similar boards lose Wi-Fi handshake after router firmware updates or power events common in the Landing district’s newer builds with frequent utility work. We test the board’s 315/390 MHz radio output, reflash or replace the board, and re-pair the MyQ app. Board swap runs $200-$320 including programming.
- Chain-drive 8160W/8360W rail sag and trolley jump. The one-piece rail flexes in longer ceiling spans, especially in Renton’s 1990s-2000s ramblers with 20-foot garage depths, causing the trolley to skip teeth under load. We shim the rail mount, replace worn trolley carriages, and sometimes recommend a wall-mount conversion if the ceiling structure won’t hold rigid.
- Battery backup 485LM cell degradation. The sealed lead-acid battery in Battery Backup-equipped units tests at 12.4V but collapses under motor load, throwing error code 1-5 or refusing to operate during outages. We load-test, not just voltage-test, and replace with current-spec 485LM cells. Battery-only calls are $120-$180; we flag if the charging circuit is also failing.
Our LiftMaster Garage Door Opener Repair & Installation Process
- 1
Call intake with a live person. We ask model number, symptom, and age. If you don’t know the model, we walk you through finding the data sticker, usually on the motor head or side panel.
- 2
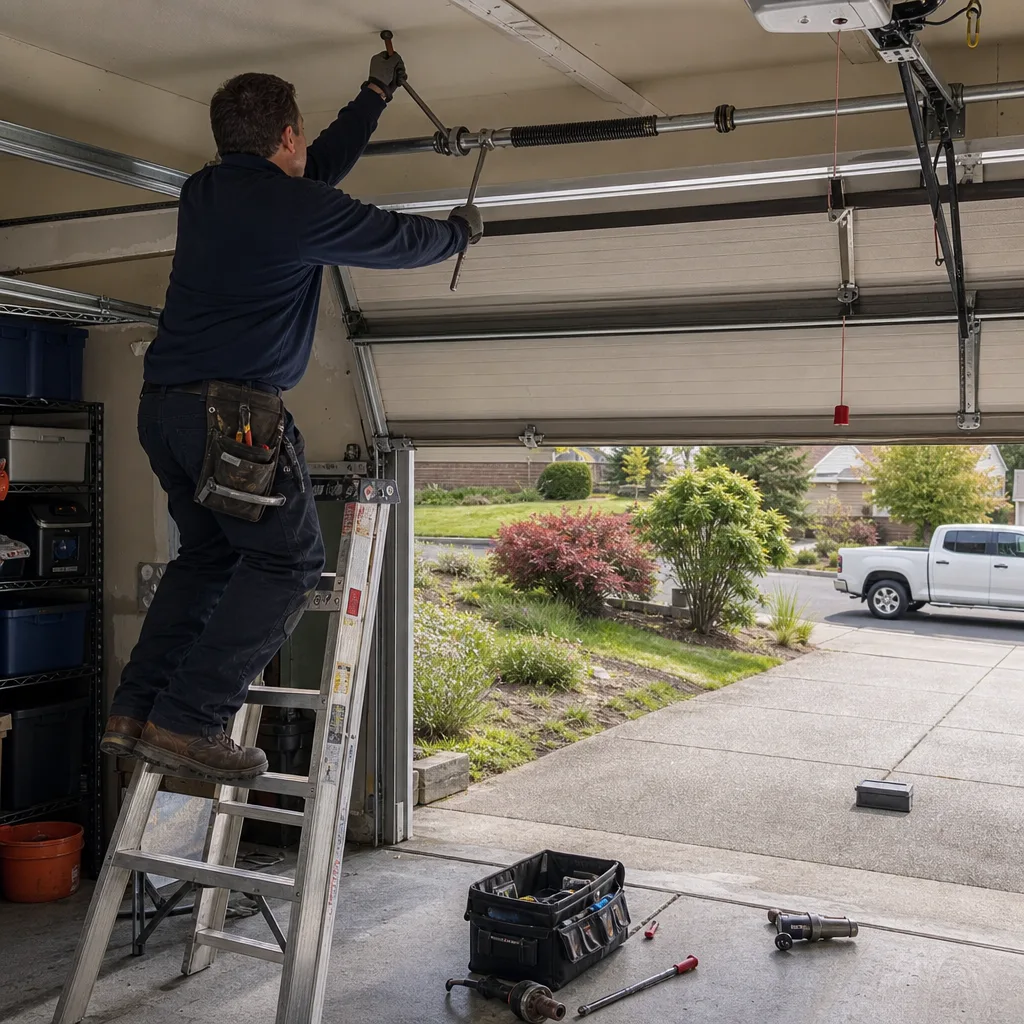
On-site diagnostic with photo documentation. The technician arrives in a marked vehicle, photographs the installed unit, tests motor amp draw, travel limits, safety reverse, and force settings. Clause 4 means the failed component is photographed before any quote.
- 3
Written price and scope before work. We name the part, quote the range, then do the work - in that order. The flat price covers parts, labor, and testing. No add-ons after you approve.
- 4
Repair or installation with OEM or quality aftermarket parts. We stock LiftMaster-compatible gears, belts, boards, and safety sensors. For newer units under warranty, we use OEM to preserve coverage. For out-of-warranty units, we explain the aftermarket option and its trade-offs.
- 5
Full-cycle testing and safety verification. We run the door through open/close cycles, test photo-eye alignment and force sensitivity with a 2×4 block, and verify MyQ or remote pairing if applicable.
- 6
Documented photo record delivery. You receive before, during, and after photos plus the written scope and 365-Day Done Right Promise terms. This closes the job and opens your file for next time.
 Before
 After
AfterWhat LiftMaster Garage Door Opener Repair & Installation Costs in Renton
| Service | Typical Range | What Moves the Price |
|---|---|---|
| Opener repair (diagnostic + part + labor) | $120-$320 | Logic board vs. gear vs. sensor; ceiling height; rail length |
| New opener installation (chain/belt) | $250-$450 | Standard 7-foot door, existing wiring intact, standard ceiling |
| New opener installation (wall-mount or jackshaft) | $350-$550 | Side-room clearance, header bracket modification, electrical |
| Smart opener upgrade (MyQ, camera, integrated LED) | Add $80-$150 | Wi-Fi signal strength, app setup, existing hub compatibility |
| Remote/keypad programming or replacement | $75-$150 | Number of remotes, Security+ 2.0 vs. older 390 MHz |
Every estimate is free and written. The price you approve is the price on the invoice. If we open it up and find something unexpected, we stop and re-quote before continuing.
Why Renton Homeowners Call Servo Garage Doors Renton for LiftMaster Work
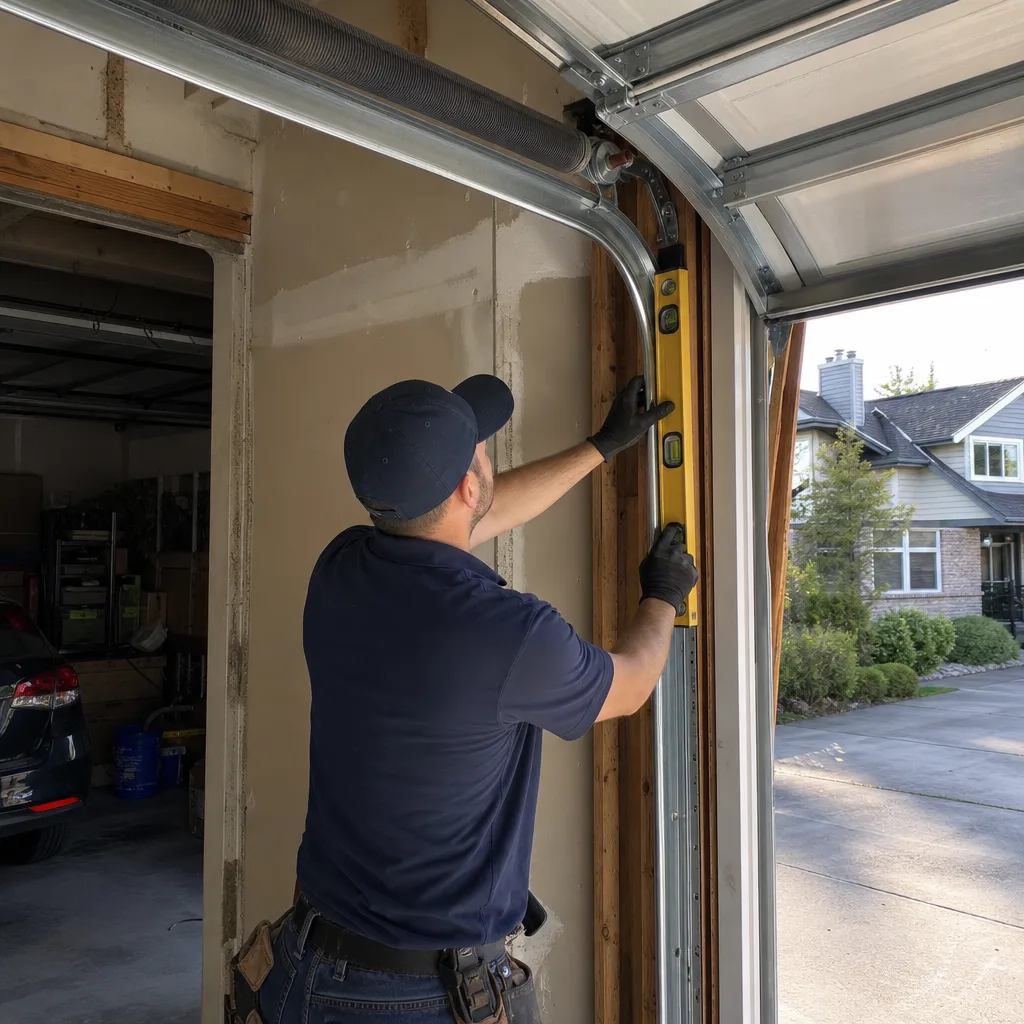
We’ve been the ones Renton residents call since 2015, including a stretch of repeat work out near the Landing district where new construction met old installation habits and the mismatch kept the schedule full. Marcus Deller and our technicians carry the license number on the uniform, not buried in fine print, and every call is answered by a live person - overnight, weekends, holidays.
The Haven Standard governs what we do: Clause 1 is the written price before work starts. Clause 4 is the photo of the failed part before any quote. The 365-Day Done Right Promise means if it’s not right, we make it right, with terms on paper, not a handshake. We also service Chamberlain and Genie openers, so if your LiftMaster is beyond repair, we can quote alternatives from our truck without a second appointment.
FAQs
No, if the unit is still under warranty and we use OEM parts. As an independent LiftMaster service provider, we’re not authorized by the manufacturer, but warranty coverage remains intact when OEM-spec components are installed by a licensed technician. We check your manufacture date and serial number before ordering parts, and we’ll tell you if the unit is still under factory coverage. Call (253) 518-3767 and we’ll verify it on the spot.
Most repair calls are same-day or next-day, including weekends. We stock the failure-prone parts - logic boards, gear kits, belts, safety sensors, battery backups - because we’ve seen what fails on which LiftMaster series. If your opener is a wall-mount 8500W or a newer Wi-Fi model, mention it when you call so we confirm the right parts are on the truck.
Repair if the motor runs strong and the rail/trolley are sound; replace if the unit is pre-2010, parts are discontinued, or repair costs exceed 60% of replacement. We give you both numbers in writing. A 15-year-old chain-drive with a stripped gear and rusted rail is usually a replacement. A 6-year-old belt-drive with a failed logic board is usually a repair. You decide after seeing the evidence.
Yes. We stock OEM and quality aftermarket gears, belts, boards, sensors, remotes, and battery backups for the LiftMaster lines we see most in Renton. If your unit needs a specialty part, we order it with next-day availability and reschedule - no charge for the return trip if we quoted the job.
No. The written price and scope you approve is fixed. If we find additional damage after disassembly, we stop, photograph it, and present a revised scope with a new flat price. Work does not continue until you approve the revision. That’s Clause 1 of The Haven Standard, and it’s how we’ve operated since 2015.
Written by Marcus Deller, Owner & Lead Technician, Servo Garage Doors Renton at Servo Garage Doors Renton, serving Renton and nearby areas.