
Last updated September 21, 2026
Full 25-point door and opener safety check with every visit - springs, cables, rollers, tracks, and your LiftMaster or Chamberlain opener included
You get a price before we start. It does not change when the truck arrives.
 Before
 After
After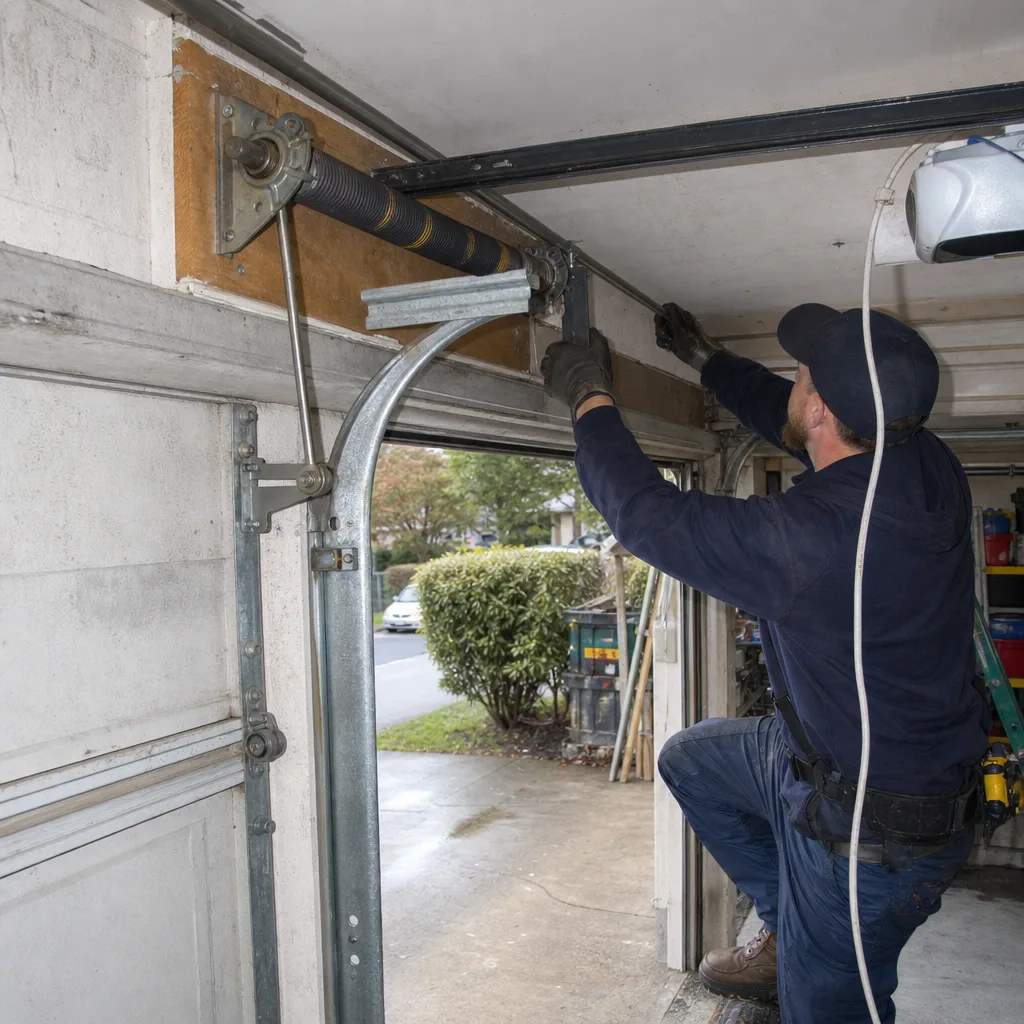 Before
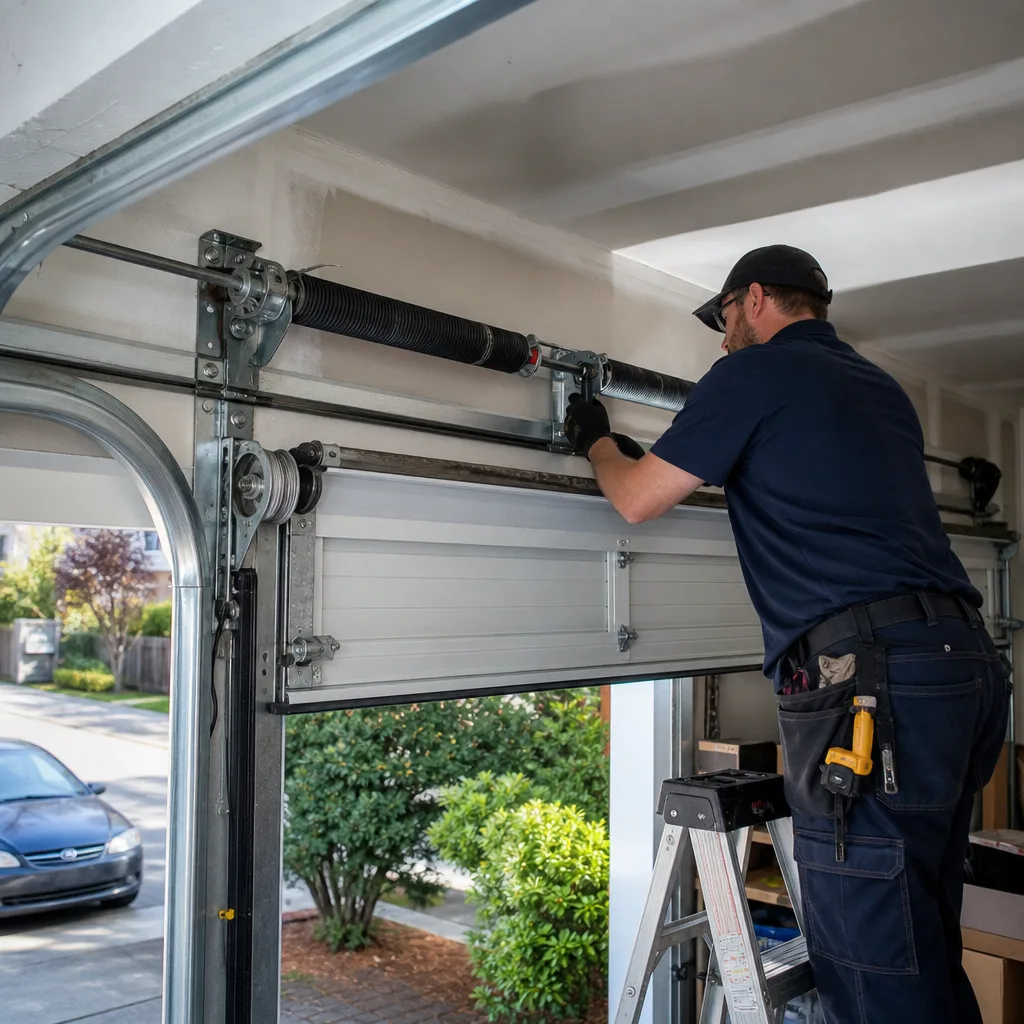 After
After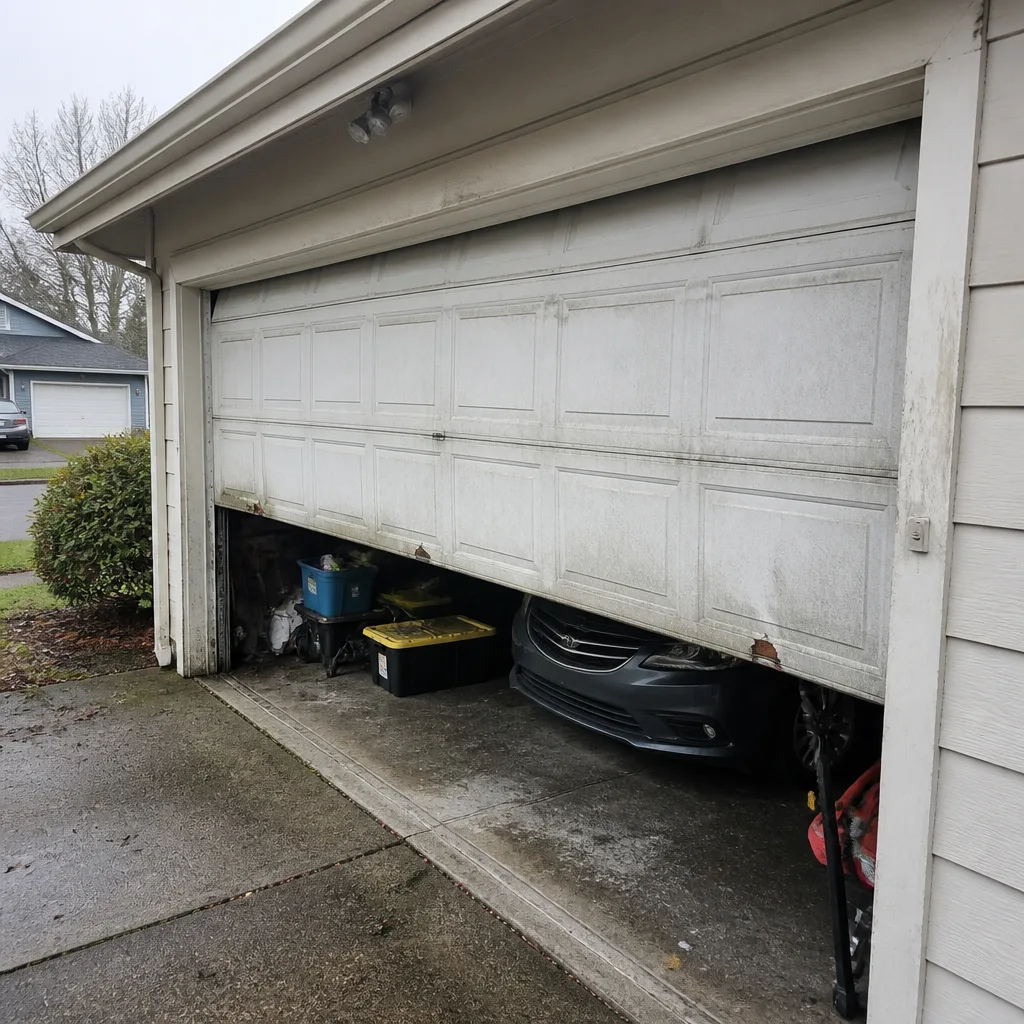 Before
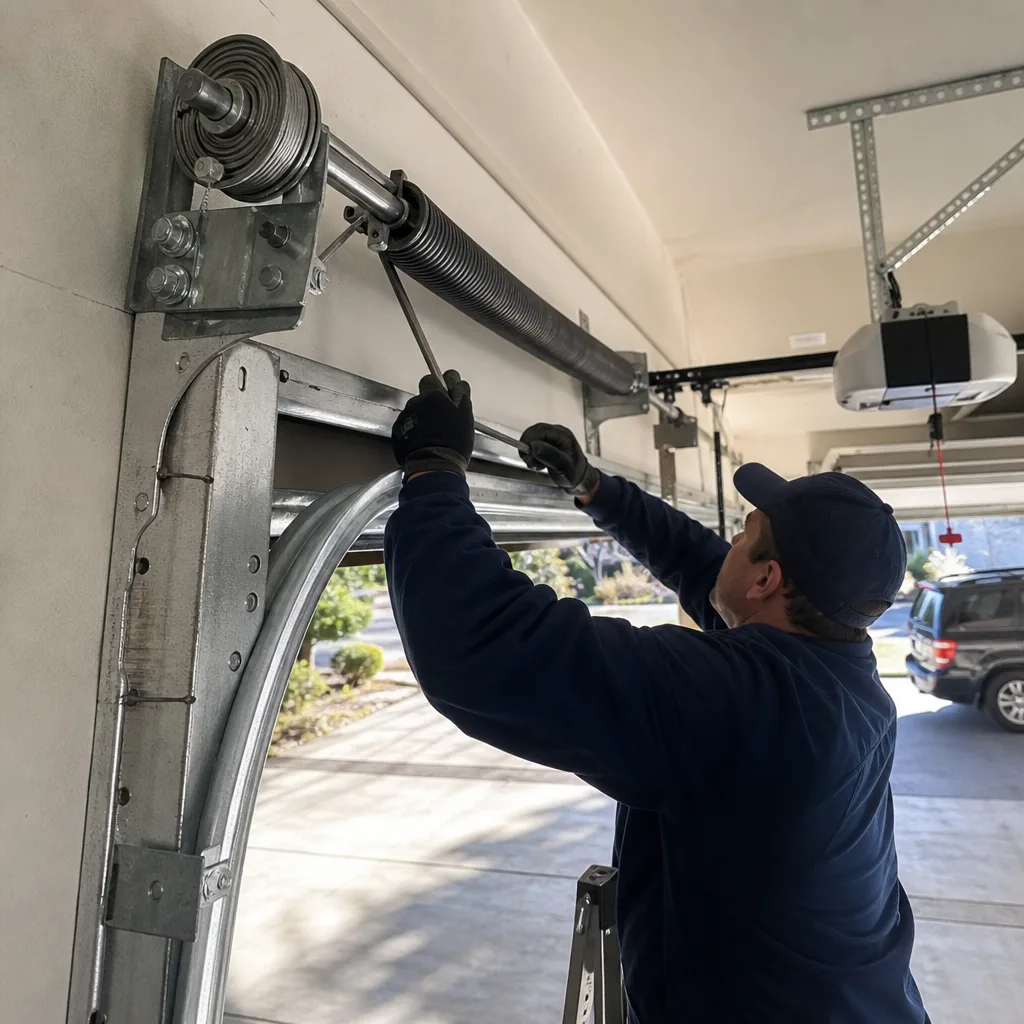 After
AfterGarage Door Warning Signs: A Renton Homeowner’s Reference Guide
Most garage door warning sign guides tell you to “listen for strange noises” and “watch for slow movement.” That’s not a diagnosis. It’s a prompt to call someone who may or may not tell you the truth about what’s broken. In Renton, where the wet season runs October through May and temperature swings contract and expand steel components daily, a door that reverses before hitting the floor could mean three completely different failures with three different price tags. This guide names the specific component behind each symptom, explains the mechanism of failure, and shows you what verifiable evidence looks like so you can evaluate any technician’s diagnosis against what your own eyes can see. For The Complete Guide to Garage Door in Renton and more guides & resources, see our blog.
Quick Answer
The eight most common garage door warning signs in Renton homes map to specific failed components: reversal before floor contact indicates photo-eye misalignment, down-limit error, or track binding; one-side sag means a failed extension spring or cable; grinding points to worn rollers or a failing trolley carriage; slow operation signals torsion spring fatigue or opener motor wear; intermittent non-response suggests logic board or remote interference; visible cable slack means cable off drum or spring imbalance; door off-track follows roller failure or impact damage; and spring-cycle noise indicates torsion spring micro-fractures or insufficient lubrication. Urgent failures require stopping use immediately; monitored deterioration allows scheduled repair.
Table of Contents
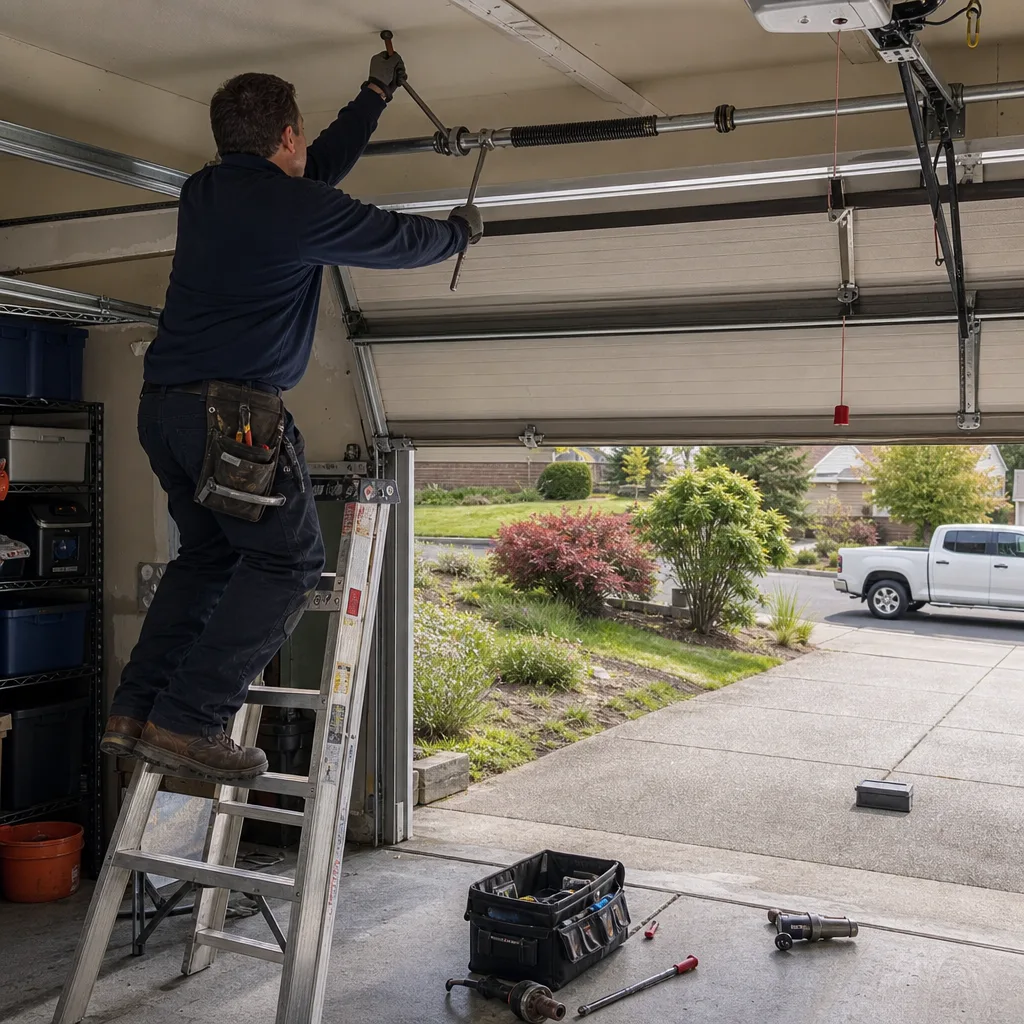
- Reversal Before Floor Contact: Three Different Sensors, Three Different Repairs
- One-Side Sag: Extension Spring or Cable Failure
- Grinding on Movement: Rollers, Track, or Trolley Carriage
- Slow Operation: Spring Fatigue or Opener Motor Wear
- Intermittent Non-Response to Opener: Logic Board or Interference
- Visible Cable Slack: Cable Off Drum or Spring Imbalance
- Door Off-Track: Roller Failure or Impact Damage
- Unusual Noise on Spring Cycle: Micro-Fractures or Lubrication Failure
- Safe to Operate vs. Do Not Use: The Binary That Matters
- How to Verify Auto-Reverse Calibration at Home
- Common Mistakes to Avoid
- When to Call a Professional
- Frequently Asked Questions
 Before
 After
AfterReversal Before Floor Contact: Three Different Sensors, Three Different Repairs
A door that reverses before touching the floor is the most misdiagnosed symptom in our trade. A technician who says “sensor problem” without specifying which sensor or mechanism is not giving you a diagnosis. They’re giving you a category. Here are the three specific failures, how they work, and what evidence confirms each one.
Photo-eye misalignment. The photo-eyes are the infrared beams mounted 4-6 inches above the floor on each side of the door opening. When one eye drifts out of alignment, the beam breaks, and the opener interprets this as an obstruction. The door reverses immediately or refuses to close. In Renton, we see this frequently in spring when ground thaw shifts door frames slightly, and in fall when wet debris accumulates on the lens. The diagnostic evidence is visible: one or both photo-eye housings will be visibly tilted, the LED indicator on one side will be off or blinking (most Genie and LiftMaster models show a solid green when aligned), or spider webbing will cover the lens. Realignment takes 10-15 minutes and requires no parts.
Down-limit adjustment error. The opener’s limit switch tells the motor when the door has reached its fully closed position. When the down-limit is set too short, the motor stops and reverses before the door contacts the floor. This is a programming issue, not a mechanical failure. The evidence appears in the opener’s behavior: the door reverses at the exact same point every time, the photo-eye LEDs remain solid green throughout the cycle, and the door closes fully if you hold the wall button down (which bypasses the auto-reverse function on most models). Adjustment requires accessing the limit switch dials or buttons on the opener housing, a procedure that varies by manufacturer. Chamberlain and LiftMaster units typically use purple or yellow “learn” button configurations; Genie screw-drive models use physical limit switches under the light cover.
Track binding triggering force sensor reversal. The opener’s auto-reverse force sensor measures the current draw of the motor. When the door binds in the track, the motor works harder, current spikes, and the opener reverses to prevent damage or injury. The evidence is mechanical: you’ll see the door physically stick or jerk at a specific point in its travel, the track may show visible deformation or debris buildup, and the rollers may be worn flat or cracked. In Renton’s older neighborhoods like Kennydale and The Highlands, where many garage doors were installed in the 1980s and 1990s, track settling and frame twist are common contributors. Following our Seasonal Garage Door Care for Renton: Year-Round Homeowner’s Guide can help catch these issues early. This repair requires track realignment or roller replacement, not sensor adjustment.
The price spread between these three diagnoses runs from $0 (homeowner realignment) to $180-260 (track and roller work). A technician who doesn’t distinguish them before quoting is not following Clause 4 of Servo Garage Doors Renton home - the requirement to photograph the failed component and show you the evidence before naming a price.
One-Side Sag: Extension Spring or Cable Failure
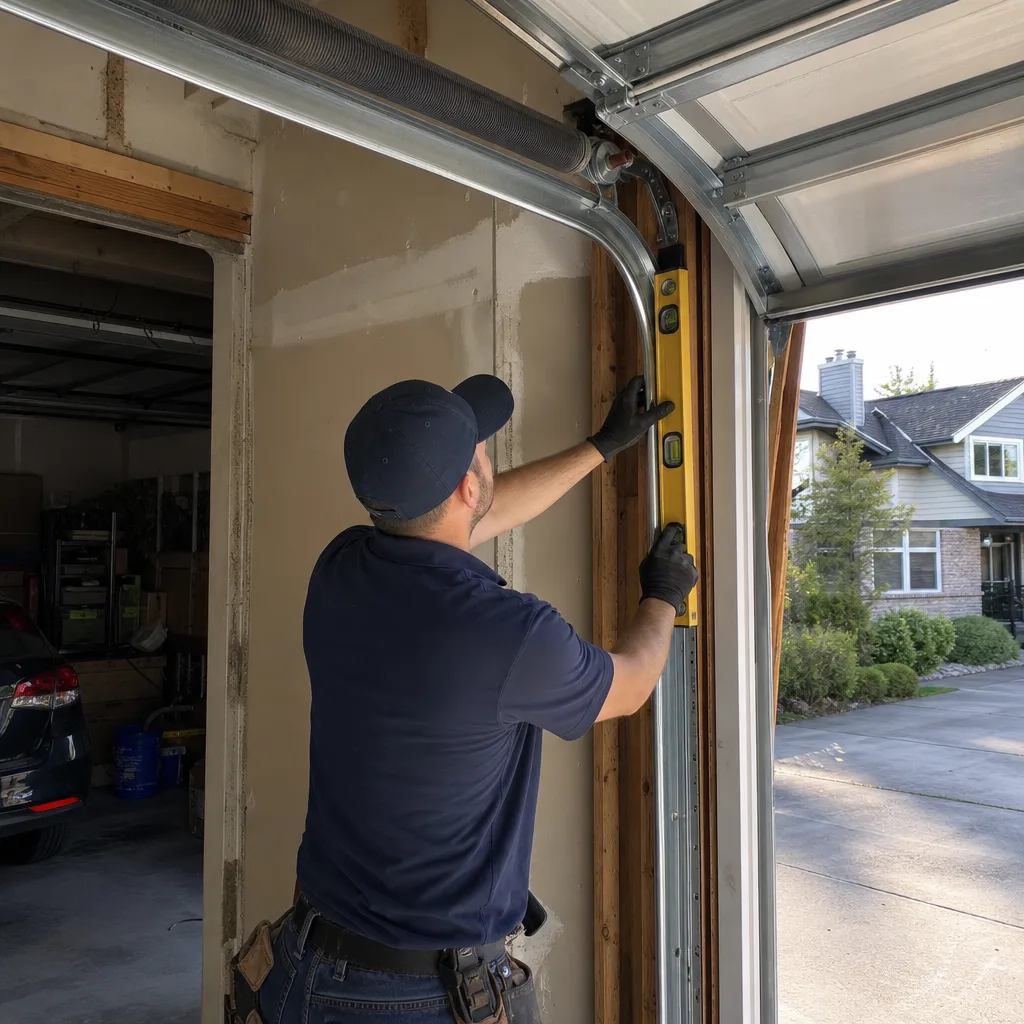
When a garage door hangs lower on one side, the failure is either a broken extension spring or a cable that has slipped off its pulley or drum. Extension spring systems, common on single-car doors and older installations throughout Renton’s pre-2000 housing stock, use paired springs mounted above the horizontal tracks on each side. Torsion spring systems, which use a single spring tube above the door, can also produce one-side sag if the cable on one drum loses tension.
Extension spring failure. The broken spring will be visibly separated, often with a gap of several inches between coils. The safety cable, which runs through the center of the spring, should contain the pieces, but the spring is no longer providing lift on that side. The door will be difficult or impossible to lift manually, and the opener will strain unevenly. This is an urgent failure: do not operate the door. Extension springs store lethal energy when stretched, and a broken safety cable can release that energy unpredictably.
Cable off pulley or drum. The lift cable will be visibly slack or looped incorrectly around the pulley. On torsion systems, the cable may hang loose from the drum at the end of the spring tube. The door remains structurally intact but operates unevenly, placing twisting stress on the door sections and opener rail. Operating a door with a slipped cable risks cable kinking, drum damage, and eventual door section separation.
In Renton’s climate, extension springs fatigue faster than the national average due to moisture corrosion accelerating metal fatigue. We replace extension springs in pairs even when only one has failed, because the matched spring has experienced identical cycle loading. A single replacement leaves you with mismatched lift forces and predictable second failure within months.
Photographic evidence of this failure is straightforward: the technician should show you the separated spring coils or the misrouted cable before quoting. If they describe “spring tension issues” without showing you the specific component, ask to see it. Clause 4 exists precisely because this distinction matters to your invoice and your safety.
Grinding on Movement: Rollers, Track, or Trolley Carriage
Grinding noise during door operation indicates metal-on-metal contact where rolling or sliding movement should occur. The specific component depends on where in the cycle the noise occurs and what kind of grinding you hear.
Worn steel rollers. Standard steel rollers ride directly on the roller stem and can flatten, crack, or seize. The grinding is rhythmic, matching roller rotation speed, and loudest at the curved portion of the vertical track where load is highest. Evidence: remove one roller (with the door secured open) and check for flat spots, rust pitting, or frozen bearings. Nylon rollers with sealed bearings eliminate this failure mode entirely and are the standard upgrade we recommend on every Garage Door Repair in Renton visit where steel rollers are found.
Track deformation or debris. Grinding that occurs at a specific point in the travel, especially if accompanied by visible door jerk, points to track damage or foreign object intrusion. Evidence: inspect the track interior with a flashlight for dents, weld splatter, or accumulated metal shavings from prior roller wear. In Renton, we find that track damage often traces to a specific incident - a bike handlebar strike, a ladder falling against the track, or vehicle contact - rather than gradual wear.
Trolley carriage wear. The trolley is the component that travels along the opener rail and connects to the door arm. On chain-drive openers, a worn trolley produces grinding at the motor end of the rail where chain tension is highest. On belt-drive models, worn trolley bearings create a squeal that progresses to grind. Evidence: disconnect the opener (pull the red release handle) and operate the door manually. If the grinding stops, the failure is in the opener drive system, not the door. The trolley carriage on most Chamberlain, LiftMaster, and Craftsman units is a replaceable component; on older Genie screw-drive models, the entire carriage assembly requires replacement.
Grinding is a monitored deterioration until it becomes severe enough to cause binding. At that point, it crosses into urgent failure territory because the increased load accelerates wear on the opener motor and can trigger force-sensor reversal at unpredictable moments.
Slow Operation: Spring Fatigue or Opener Motor Wear
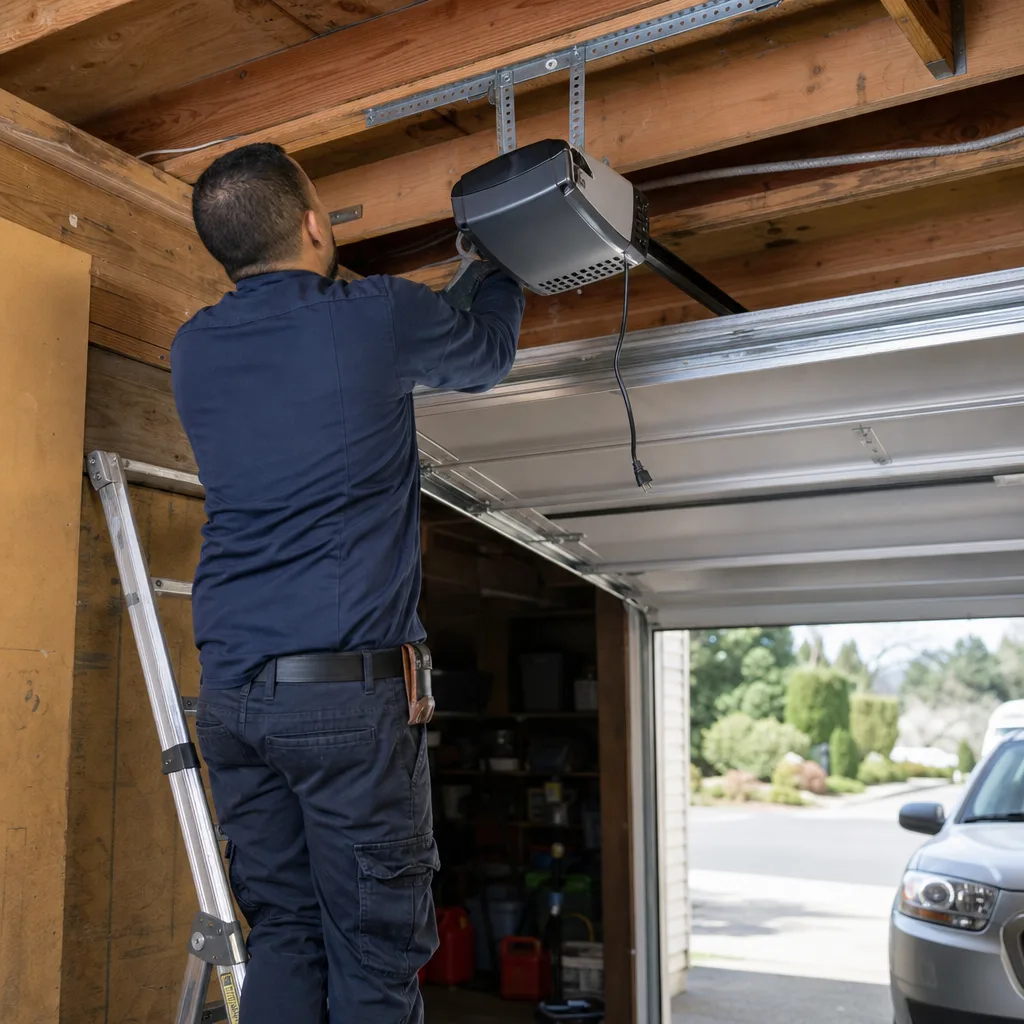
A door that operates noticeably slower than when installed has either lost spring assist or the opener motor is compensating for increased load. Distinguishing these requires understanding the door’s balance.
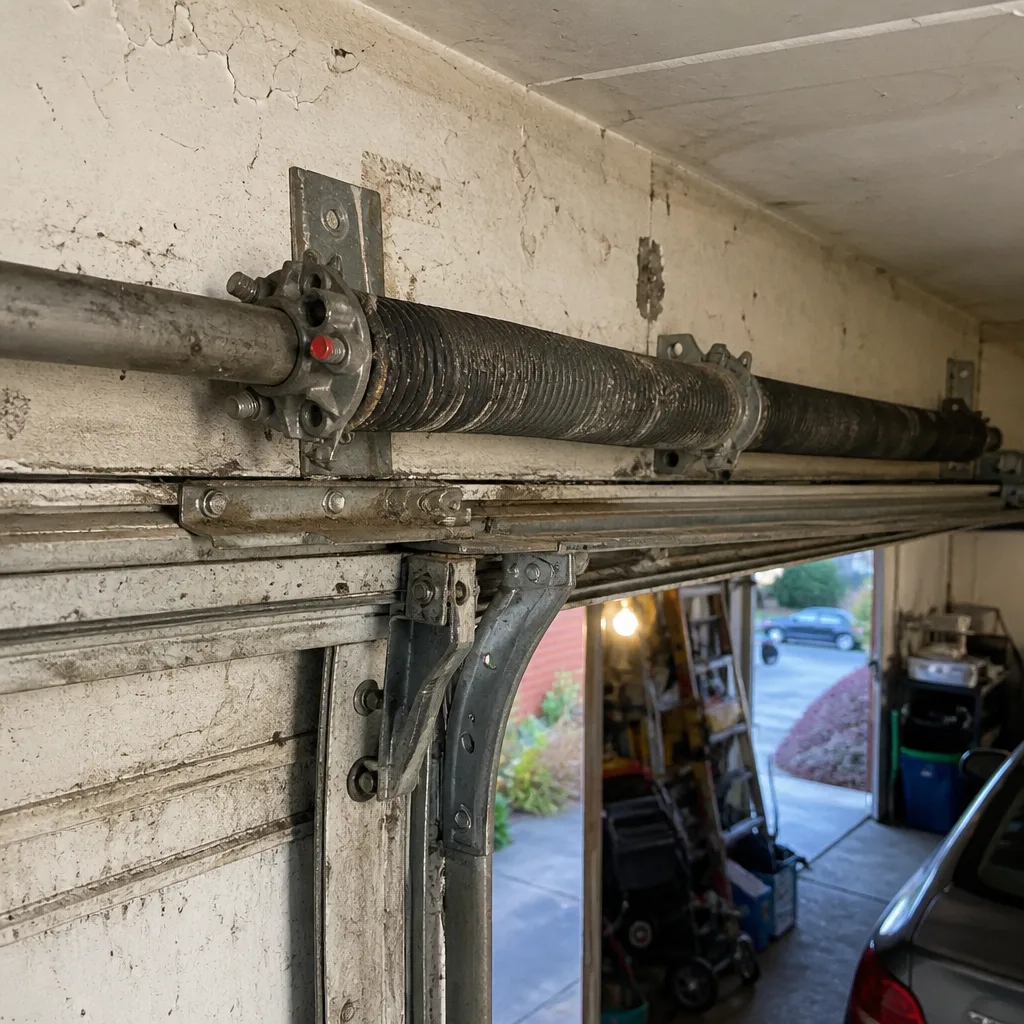
Torsion spring fatigue. Torsion springs are rated for a specific cycle life, typically 10,000 cycles for standard springs and 25,000-50,000 for high-cycle upgrades. Each open-close pair counts as one cycle. A spring approaching end of life loses torque, requiring the opener to lift more of the door’s weight. The door feels heavier manually, moves slower under power, and may stop mid-travel in cold weather when the motor’s starting torque is reduced. Evidence: disconnect the opener and lift the door manually to waist height. A properly balanced door stays in position; a fatigued spring lets the door drift down. The spring may also show visible coil gaps that have widened beyond the original specification, or in advanced cases, a visible crack or separation.
In Renton, where many homeowners commute daily and average 4-6 cycles per day, a standard 10,000-cycle spring reaches end of life in 4.5-7 years. We see premature fatigue in south-facing garages where summer heat increases spring stress, and in homes near the Cedar River where higher humidity accelerates surface corrosion.
Opener motor wear. A failing motor draws higher current for the same output, producing slower operation and often a hot motor housing. Evidence: the door operates slowly in both directions (spring fatigue typically affects upward movement more), the motor hums without immediate response, and the slowdown is gradual over months rather than years. Capacitor failure in older motors produces a distinctive humming start before the motor engages. Motor replacement is typically cost-effective only on openers under 8 years old; older units lack modern safety features and parts availability. If you’re planning a larger project, read How to Hire a Garage Door Contractor in Renton: A Step-by-Step Guide first.
The diagnostic sequence matters: always verify spring balance before replacing an opener. We’ve documented cases in Renton’s Talbot Hill neighborhood where homeowners replaced openers twice before discovering the actual failure was a fatigued torsion spring. The photo record from those calls shows the spring coil gaps clearly; the previous technicians simply didn’t look.
Intermittent Non-Response to Opener: Logic Board or Interference
A door that sometimes ignores remote or wall button commands, then works normally, frustrates homeowners and technicians alike. The failure is usually in the opener’s logic board or in radio frequency interference, not in the remote battery (though that’s worth checking first).
Logic board failure. The logic board is the opener’s computer, interpreting signals from remotes, wall buttons, and safety sensors. Failed capacitors, cold solder joints, or moisture intrusion cause intermittent signal processing. Evidence: the failure pattern is random, not tied to specific times or conditions; the wall button (hardwired, not radio) also fails intermittently; and the LED indicators on the opener show normal status when the failure occurs. Chamberlain and LiftMaster units manufactured 2011-2018 had a known capacitor issue that produces exactly this symptom. The logic board is a replaceable component, though on units over 10 years old, full opener replacement is often more cost-effective.
Radio frequency interference. Modern LED light bulbs, home security systems, and even some battery chargers emit RF noise in the 315 MHz or 390 MHz bands used by garage door remotes. Evidence: the remote fails only from certain positions or distances; the wall button always works; and the failure correlates with specific devices being powered on. In Renton’s newer construction, we’ve traced interference to LED bulbs installed in the opener itself - a location where the bulb’s proximity to the receiver amplifies any RF emission. The fix is replacing the bulb with a garage door opener-rated LED, available from most hardware stores.
Remote signal degradation. Less common but verifiable: the remote’s button contacts wear, producing inconsistent signal transmission. Evidence: one remote works reliably while another fails; pressing the button with unusual force produces success; and the remote works consistently when held very close to the opener. Remote replacement is straightforward; universal remotes program to all major brands including Genie, Clopay, and Wayne Dalton openers.
For diagnosis, we document the failure pattern: frequency, conditions, which controls are affected, and any recent changes to the garage environment. This documentation lets us distinguish logic board failure (replace board or opener) from interference (change bulb or relocate device) without guessing.
Visible Cable Slack: Cable Off Drum or Spring Imbalance
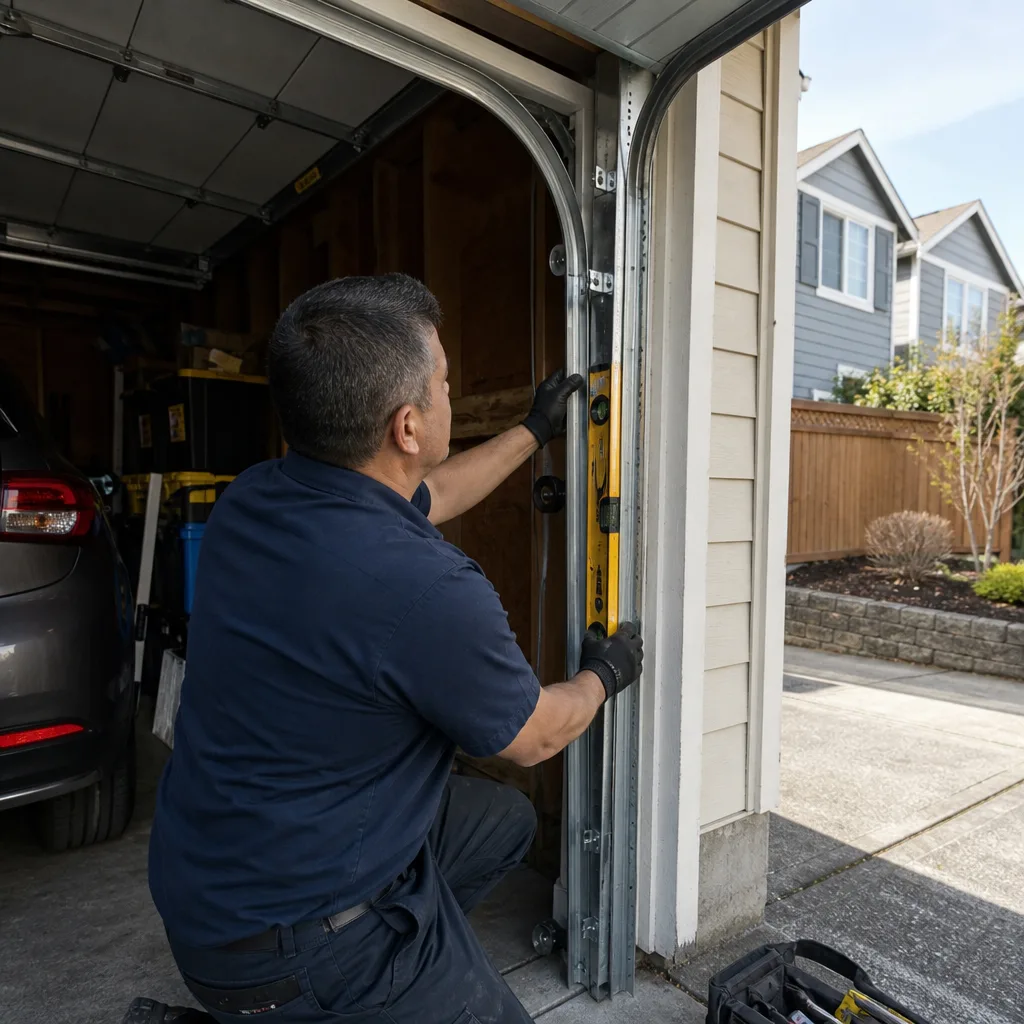
Lift cables should remain taut throughout the door’s travel. Visible slack indicates either a cable that has slipped on its drum or a torsion spring system with unequal torque distribution.
Cable off drum. On torsion systems, the cable wraps around a drum at each end of the spring tube. If the cable slips off the drum grooves, it hangs loose while the opposite cable carries the load. Evidence: the cable is visibly displaced from the drum grooves, often with multiple wraps out of position, and the door will sag or bind on the affected side. This typically follows a spring replacement where the technician didn’t set tension equally, or after the door was operated with a broken spring and the cable unwound under unbalanced load.
Spring imbalance. A torsion spring system with unequal wind on the two springs (on dual-spring doors) or a single spring with uneven torque distribution causes one drum to wind more cable than the other. Evidence: the door operates with visible twist, one cable remains taut while the other shows slack at certain positions, and the problem worsens with cycling. This is an installation or prior repair error, not a component failure, and correcting it requires releasing spring tension and rewinding evenly.
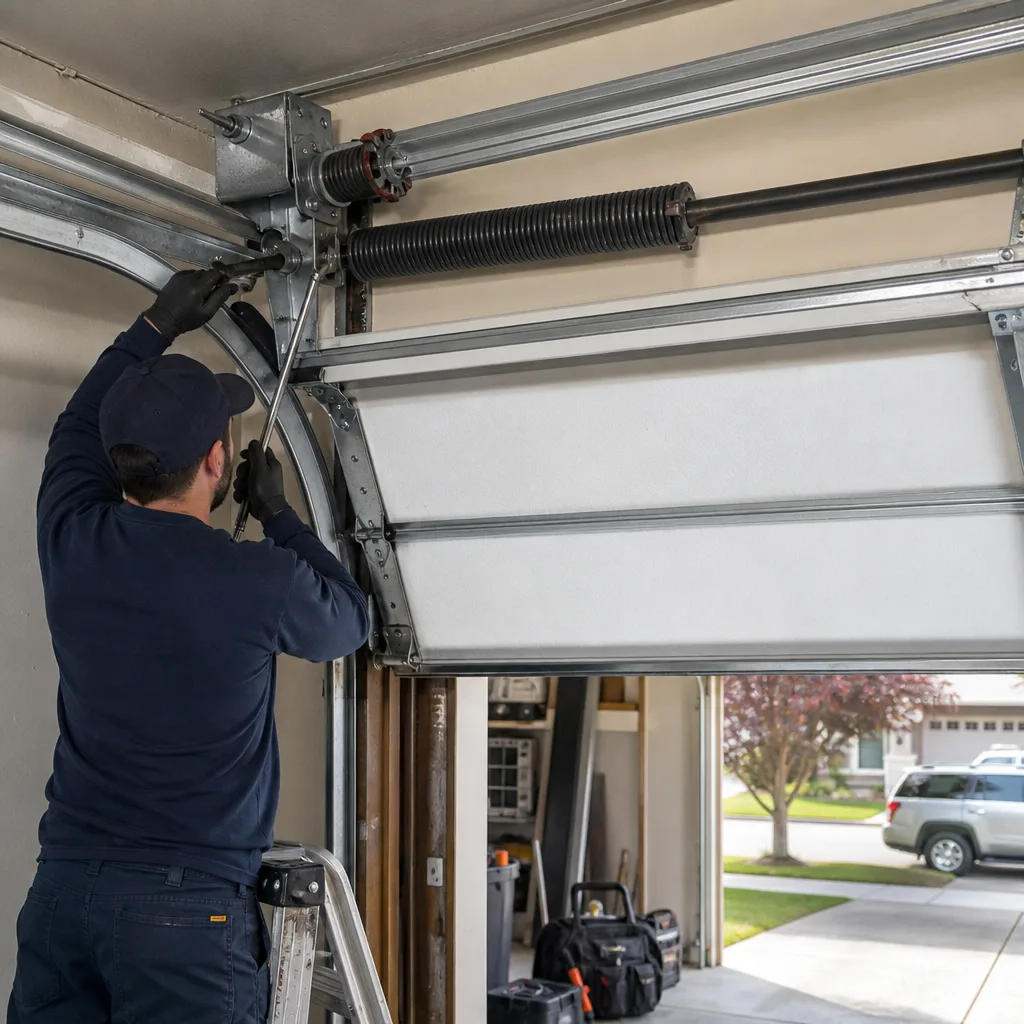
Cable slack is always urgent if the door is operated. A cable off drum can snag, kink, or whip free, and the unbalanced load places shear stress on door hinges and opener components. Do not operate the door. The repair requires a trained technician with winding bars and the knowledge to balance spring torque safely.
In Renton, we see cable-off-drum calls spike after winter storms, when homeowners operate doors with snow load or after impact from falling branches. The photo record from these visits typically shows cable displacement and often secondary damage to the drum grooves from attempted operation with the cable misaligned.
Door Off-Track: Roller Failure or Impact Damage
A door that has left its track is the most visually obvious failure and among the most dangerous to attempt repair without proper equipment. The door is no longer guided in its path and can fall or twist unpredictably.
Roller failure. The roller stem bends, the wheel separates from the stem, or the roller bracket rivets shear. Evidence: the roller is visibly displaced from the track, the bracket may hang loose from the door section, and the door tilts toward the failed roller. Nylon rollers can shatter from impact; steel rollers can bend from side load. In either case, the door section above the failed roller is no longer constrained laterally.
Impact damage. Vehicle contact, heavy object strike, or structural settling displaces the track itself, forcing rollers out. Evidence: the track shows visible deformation at the point of derailment, the track mounting brackets are bent or pulled from the wall framing, and the door may be intact but misaligned. In Renton’s hillside neighborhoods like May Creek and Fairwood, where garages are often built into slopes with retaining walls, we’ve seen track mounting fail due to moisture intrusion into the wall framing behind the track brackets.
A door off-track must not be operated. The weight distribution is unpredictable, and attempting to force the door back into the track by hand risks the door falling or a section separating. Proper repair requires securing the door with clamps or locking pliers, assessing whether the track can be realigned or must be replaced, and replacing any failed rollers or brackets. On Garage Door Installation in Renton visits, we verify track mounting into solid framing as standard practice, because the original builder’s installation often relies on minimal fasteners into compromised wood.
Unusual Noise on Spring Cycle: Micro-Fractures or Lubrication Failure
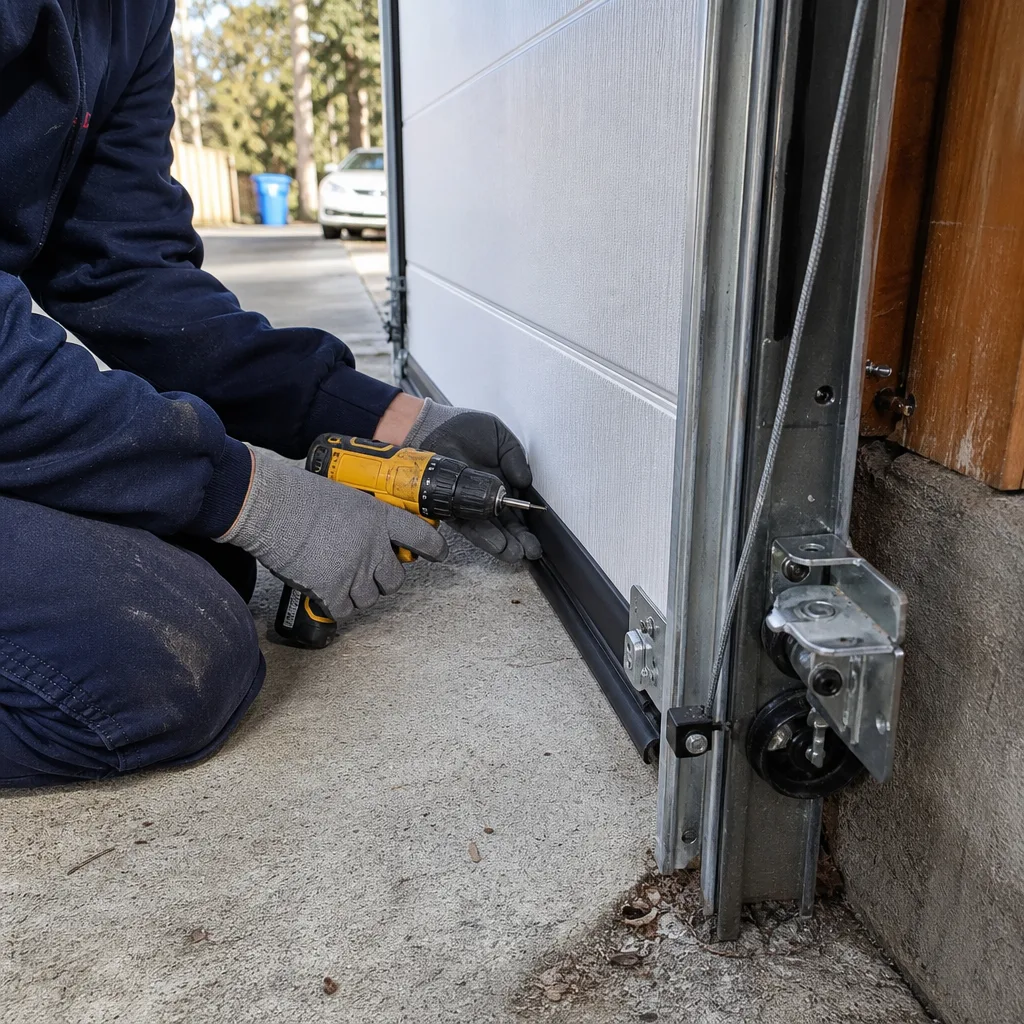
Torsion springs produce a characteristic sound during operation - a smooth winding noise as torque transfers from the spring to the cable drums. Deviation from this sound indicates either mechanical wear or imminent failure.
Spring micro-fractures. Before a torsion spring breaks completely, stress fractures develop in the wire surface. These produce a creaking or popping sound during the wind/unwind cycle, especially noticeable in the first operation of the day when the spring is cold. Evidence: visual inspection of the spring wire shows a rough or crystalline surface texture rather than smooth steel, and in advanced cases, visible crack lines following the wire’s helical path. A spring producing this sound is in monitored deterioration - it will fail, but the timeline is uncertain. In Renton’s climate, the wet season accelerates surface corrosion that seeds these fractures, so we see more mid-winter spring failures than drier regions.
Lubrication failure. The spring wire rubs against adjacent coils and the spring anchor bracket during each cycle. Without proper lubrication, this produces a grinding or squealing noise. Evidence: the spring surface appears dry or rust-streaked, and the noise diminishes or disappears after lubrication with a garage door-specific product (lithium-based or silicone-based, never WD-40 which attracts debris). This is maintenance, not repair, but neglected lubrication accelerates wear and shortens spring life.
Bearing or bushing wear. The spring tube rotates in bearings or bushings at each end. Worn bearings produce a rumbling or vibration transmitted through the header bracket. Evidence: the noise localizes to the spring tube ends, and manual rotation of the tube (with springs unwound) reveals roughness or play. Bearing replacement is straightforward and prevents the accelerated spring wear that results from a wobbling tube.
The distinction between micro-fracture noise and lubrication noise matters for scheduling and budgeting. A lubricated spring with micro-fractures still needs replacement within months; a dry spring with good wire simply needs maintenance. The photo record should show the wire surface condition clearly enough that you can see the difference.
Safe to Operate vs. Do Not Use: The Binary That Matters
Most warning sign guides imply a spectrum of urgency. We use a binary, because the safety implications are binary.
Do not operate. Call for same-day service.
- Broken torsion or extension spring: the door is not counterbalanced and can fall or slam
- Cable off drum or visible cable slack: unbalanced load risks door twist and component failure
- Door off-track: no lateral constraint, unpredictable movement
- Opener force sensor failure: auto-reverse may not function, crushing hazard
- Visible door section separation or hinge failure: structural integrity compromised
Safe to operate with caution. Schedule repair within 1-2 weeks.
- Surface cable fraying without slack: monitor for progression, but current tension is maintained
- Weather seal compression loss or tearing: air and water infiltration, no safety implication
- Roller lateral play in track: noise and accelerated wear, but door remains guided
- Photo-eye intermittent misalignment: nuisance reversal, safety system still functional when aligned
- Cosmetic panel damage without structural compromise
The test for “safe with caution” is simple: disconnect the opener, operate the door manually, and verify it stays in position at any point in its travel. If it does, the spring system is functional and the door is mechanically sound. If it drifts or feels unbalanced, it belongs in the “do not operate” category regardless of other symptoms.
In Renton, where many homeowners use their garage as the primary home entrance, the temptation to “just use it carefully” is strong. We’ve documented the results in our photo records: a door with a frayed cable that operated for weeks before failing completely, and a door with a cracked spring that the homeowner used manually until the spring broke mid-lift. The first case ended with a scheduled repair; the second with a door off-track and hinge damage that doubled the repair cost.
How to Verify Auto-Reverse Calibration at Home
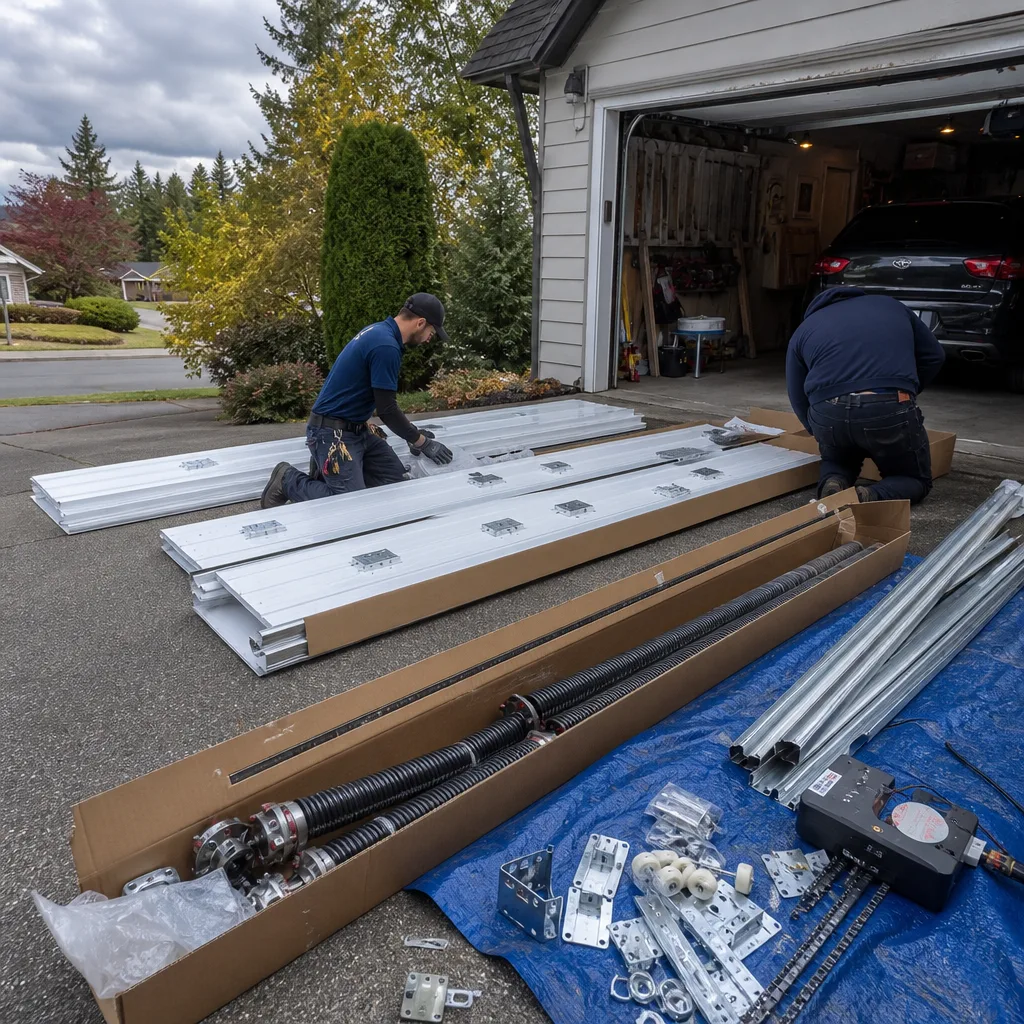
Before calling a technician for reversal issues, you can verify whether your opener’s auto-reverse system meets current safety standards. The tests are specified in UL 325, the safety standard for residential garage door openers, and take five minutes.
- The 2×4 floor test. Place a 2×4 board flat on the floor centered under the door path. Close the door using the remote or wall button. A properly calibrated opener will reverse within 2 seconds of contacting the board. If the door does not reverse, or reverses only after significant force, the down-force sensitivity requires adjustment or the force sensor has failed. Do not continue testing; the opener is unsafe.
- The obstruction reversal test. With the door fully open, start it closing, then grasp the bottom section and apply upward resistance. A properly calibrated opener will reverse within seconds. The force required should be moderate, not extreme. If the door continues closing against your resistance, the force sensor is not functioning.
- The photo-eye test. Start the door closing, then pass a broom handle through the photo-eye beam. The door should reverse immediately. Test both sides individually by blocking one eye at a time. If the door does not reverse, check for LED status (solid green = aligned on most models) and clean the lenses. If alignment and cleaning don’t restore function, the photo-eye or wiring requires replacement.
Document your test results: date, which tests passed or failed, and any observed behavior. This documentation serves two purposes. It lets you verify whether a technician’s diagnosis matches your observations, and it provides a baseline for future comparison if symptoms recur.
Opener models vary in adjustment procedure. Chamberlain, LiftMaster, and Craftsman units manufactured after 1993 use force adjustment dials or electronic settings; Genie chain-drive models typically use similar dials on the power head. If your opener lacks these adjustments or was manufactured before 1993, it predates current UL 325 requirements and should be replaced regardless of function. Garage Door Opener Repair & Installation in Renton includes safety compliance verification as standard on every visit.
Common Mistakes to Avoid
- Accepting “sensor problem” as a diagnosis. There are three distinct sensors and mechanisms that cause reversal. A technician who doesn’t specify which one is not diagnosing, they’re categorizing. Ask which component failed and what evidence supports it.
- Operating a door with visible cable slack. The cable can kink, whip, or snag, converting a cable replacement into a door section replacement or worse. The “just this once” approach has predictable consequences.
- Ignoring seasonal changes in door behavior. In Renton, doors that worked fine in September may show binding or slowdown in January. Temperature and humidity affect steel, lubricant viscosity, and opener motor performance. Seasonal changes are data, not anomalies.
- Replacing an opener before verifying spring balance. We’ve seen this mistake cost homeowners twice. A fatigued spring overloads any new opener, producing the same “slow operation” symptom within months.
- Using WD-40 on garage door components. It’s a solvent and light lubricant that evaporates, leaving a sticky residue that attracts dust and accelerates wear. Use lithium-based grease on metal-to-metal contact points and silicone spray on weather seals.
- Attempting spring or cable repair without proper tools. Torsion springs store enough energy to cause serious injury or death. Winding bars, proper anchoring, and training are non-negotiable. There is no safe shortcut.
- Discarding documentation from prior repairs. The photo record, written scope, and warranty terms from your last service are your reference for evaluating future diagnoses. A technician who contradicts prior documentation without explaining why owes you that explanation.
When to Call a Professional
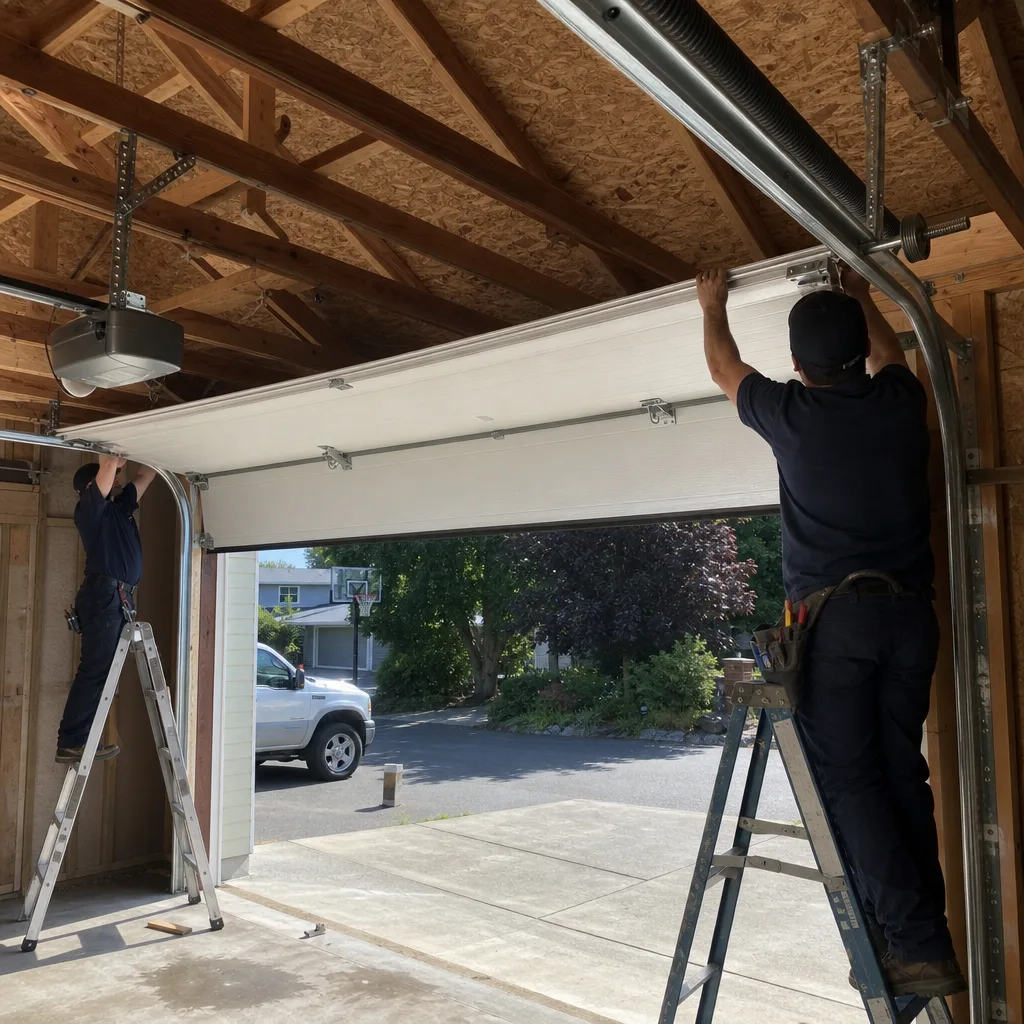
Call a technician when the failure involves stored energy (springs, cables), structural integrity (door off-track, section damage), or safety system function (auto-reverse, force sensor). These repairs require specific tools, training, and the judgment that comes from documented experience. For monitored deterioration items, schedule at your convenience before the condition progresses.
Servo Garage Doors Renton offers free estimates in Renton - call (253) 518-3767. Every estimate includes a written, flat price and written scope before any work begins, per Clause 1 of The Haven Standard. You’ll receive a documented photo record of findings and completed work, and our 365-Day Done Right Promise means that if a repair is not right, we make it right. Calls are answered by a live person 24 hours a day, including holidays, with a named technician and an on-the-way text.
Frequently Asked Questions
Torsion spring replacement in Renton typically runs $280-$420 for a single spring and $380-$560 for a dual-spring system, including parts, labor, and warranty. Extension spring replacement runs $180-$280 per pair. The exact price depends on spring wire size, inner diameter, and length, which are measured on-site. We quote a flat, written price before any work starts - no exceptions. Call (253) 518-3767 for an exact quote; estimates are free.
Photo-eye realignment and lens cleaning are safe homeowner tasks. Limit switch adjustment requires following manufacturer-specific procedures documented in your opener manual. Track binding, roller wear, and force sensor failure require professional diagnosis and repair. If the 2×4 test or obstruction test fails, do not attempt adjustment; the safety system is compromised and needs technician evaluation. Call (253) 518-3767 for same-day service.
Disconnect the opener and lift the door manually to waist height. If it stays in position, the spring system is functional. Check that cables are taut, rollers are in track, and no components show visible damage or separation. If the door drifts, feels heavy, or shows any of the urgent failures listed above, do not operate it. The manual balance test takes 30 seconds and tells you what you need to know.
No. Our written price is quoted and agreed before any work starts, per Clause 1 of The Haven Standard. The technician photographs the failed component, explains the repair, and delivers a flat price and written scope. If additional issues are discovered during work, we stop, document, and quote separately before proceeding. No surprises, no invoice larger than the agreed price.
Annual professional inspection is appropriate for most Renton homes, with lubrication and hardware tightening every 6-12 months depending on cycle count. Homes near the Cedar River or in low-lying areas may need more frequent inspection for corrosion. Spring fatigue is the primary concern on doors over 5 years old or with daily use exceeding 4 cycles. We document condition at each visit so you can track deterioration rather than guessing.
Yes. Our trucks stock torsion and extension springs, cables, rollers, hinges, weather seal, and logic boards for LiftMaster, Chamberlain, Genie, Clopay, Amarr, Wayne Dalton, Craftsman, and Raynor. Specialty items like custom door sections or obsolete opener models may require next-day ordering, but standard repairs are completed in a single visit. If we don’t have it, we’ll tell you before we arrive, not after we’re in your garage.
Every visit produces photographs of the failed component before replacement, the installed replacement with identifying marks visible, and the completed work area. These are delivered to you electronically with the invoice. The record traces to our founding rule from 2015: the customer sees the failed part before anyone quotes a replacement. Clause 4 codifies this practice. You keep the documentation for warranty claims, future reference, or comparison with any subsequent technician’s diagnosis.
The Bottom Line
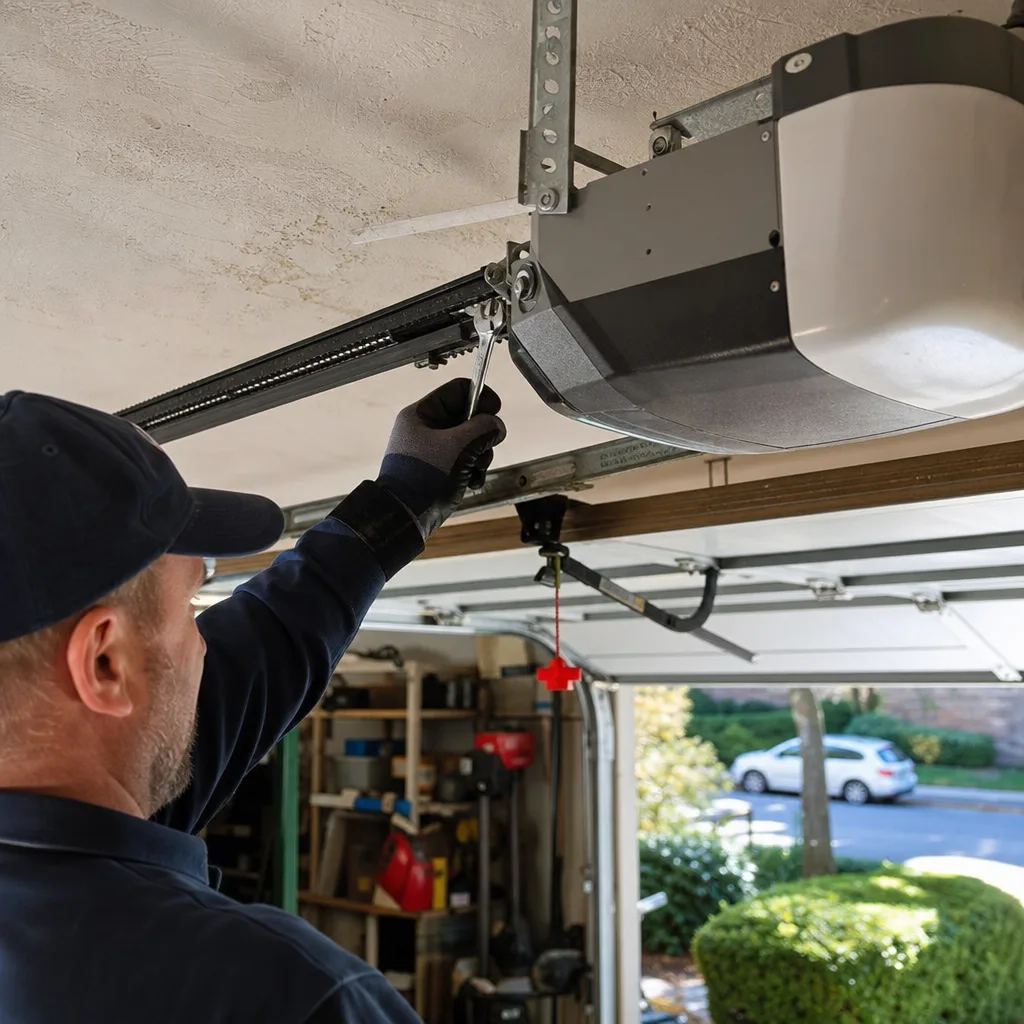
Garage door warning signs are not mysteries. Each symptom maps to a specific component, and each component produces verifiable evidence that a technician can show you. The homeowner who knows what to look for - photo-eye LED status, spring coil condition, cable tension, roller integrity - can evaluate whether a diagnosis matches the visible facts. In Renton’s climate, where moisture and temperature variation accelerate wear, this knowledge prevents both unnecessary repairs and dangerous delays. Document what you observe, test what you can test safely, and demand that any technician show you the failed component before quoting a price. The paper trail protects you more than any claim of experience.
Written by Marcus Deller, Owner at Servo Garage Doors Renton, serving Renton since 2015.